

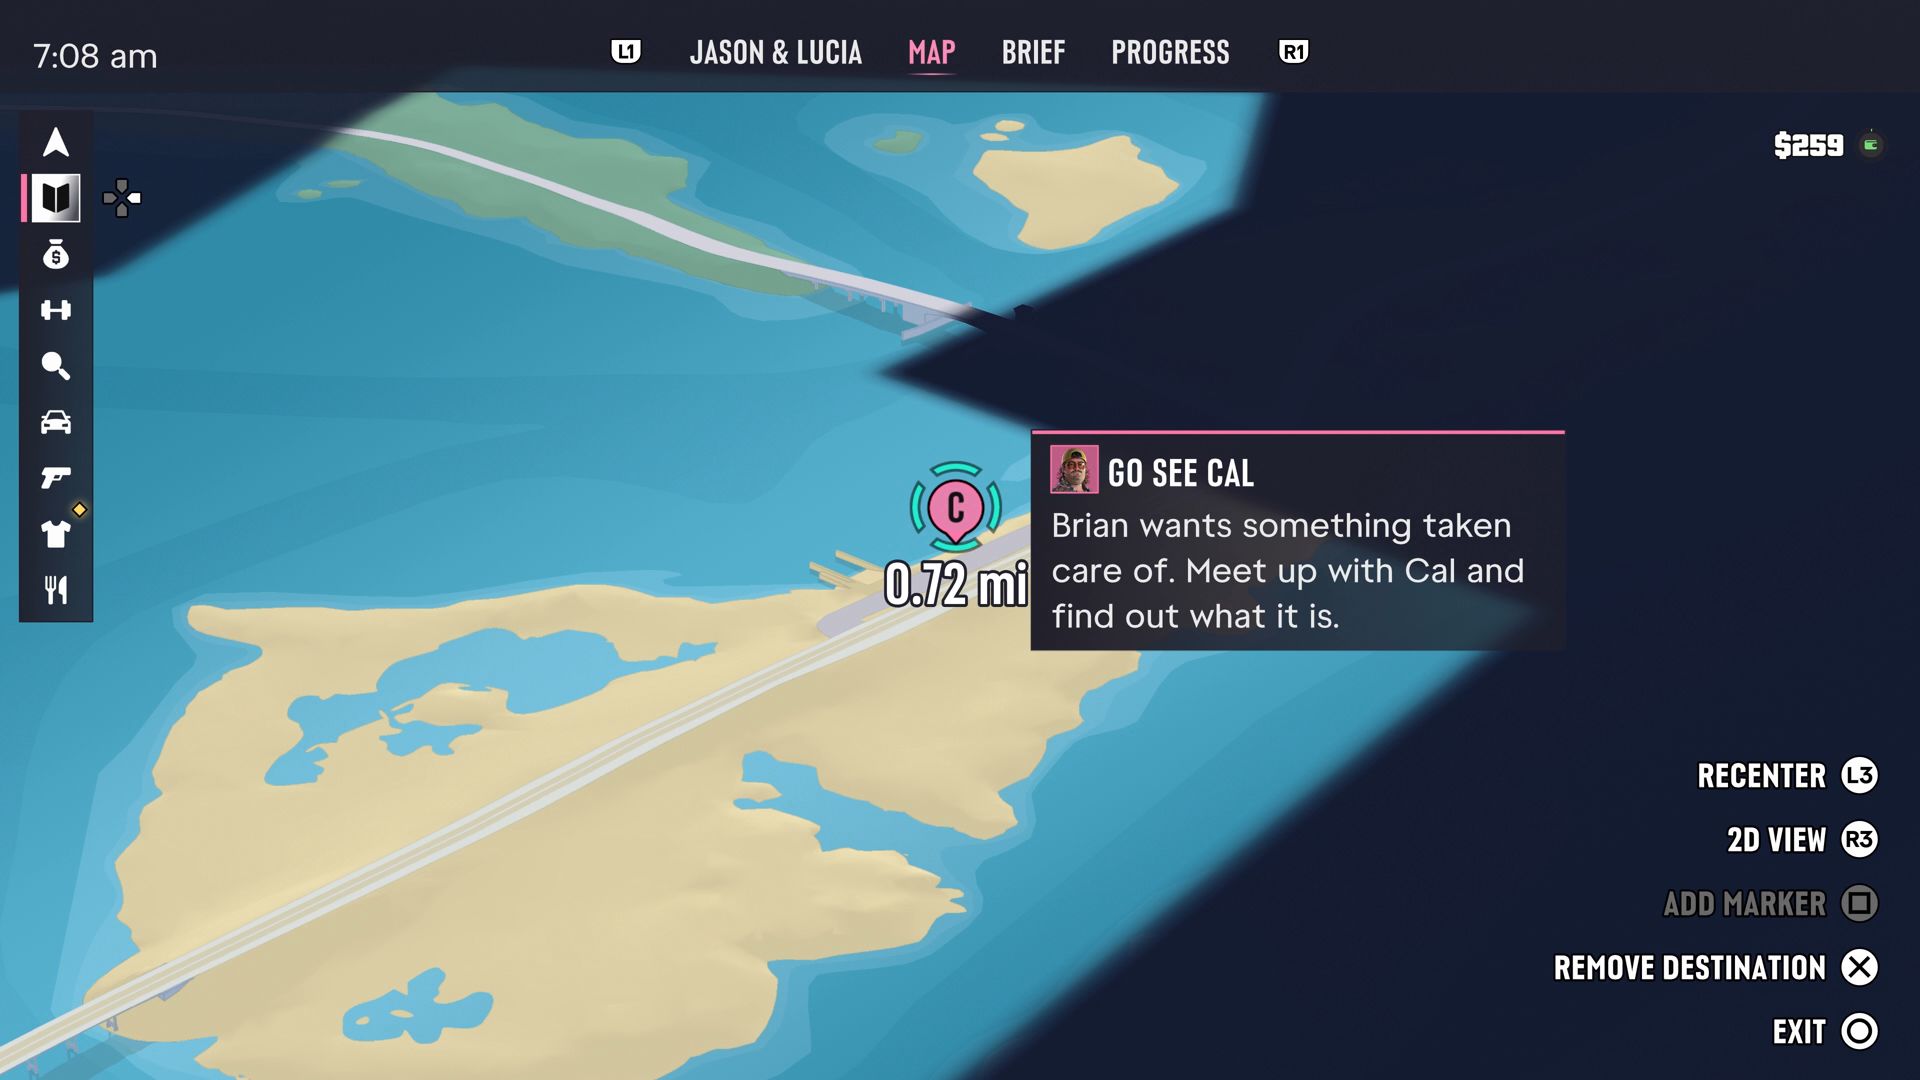
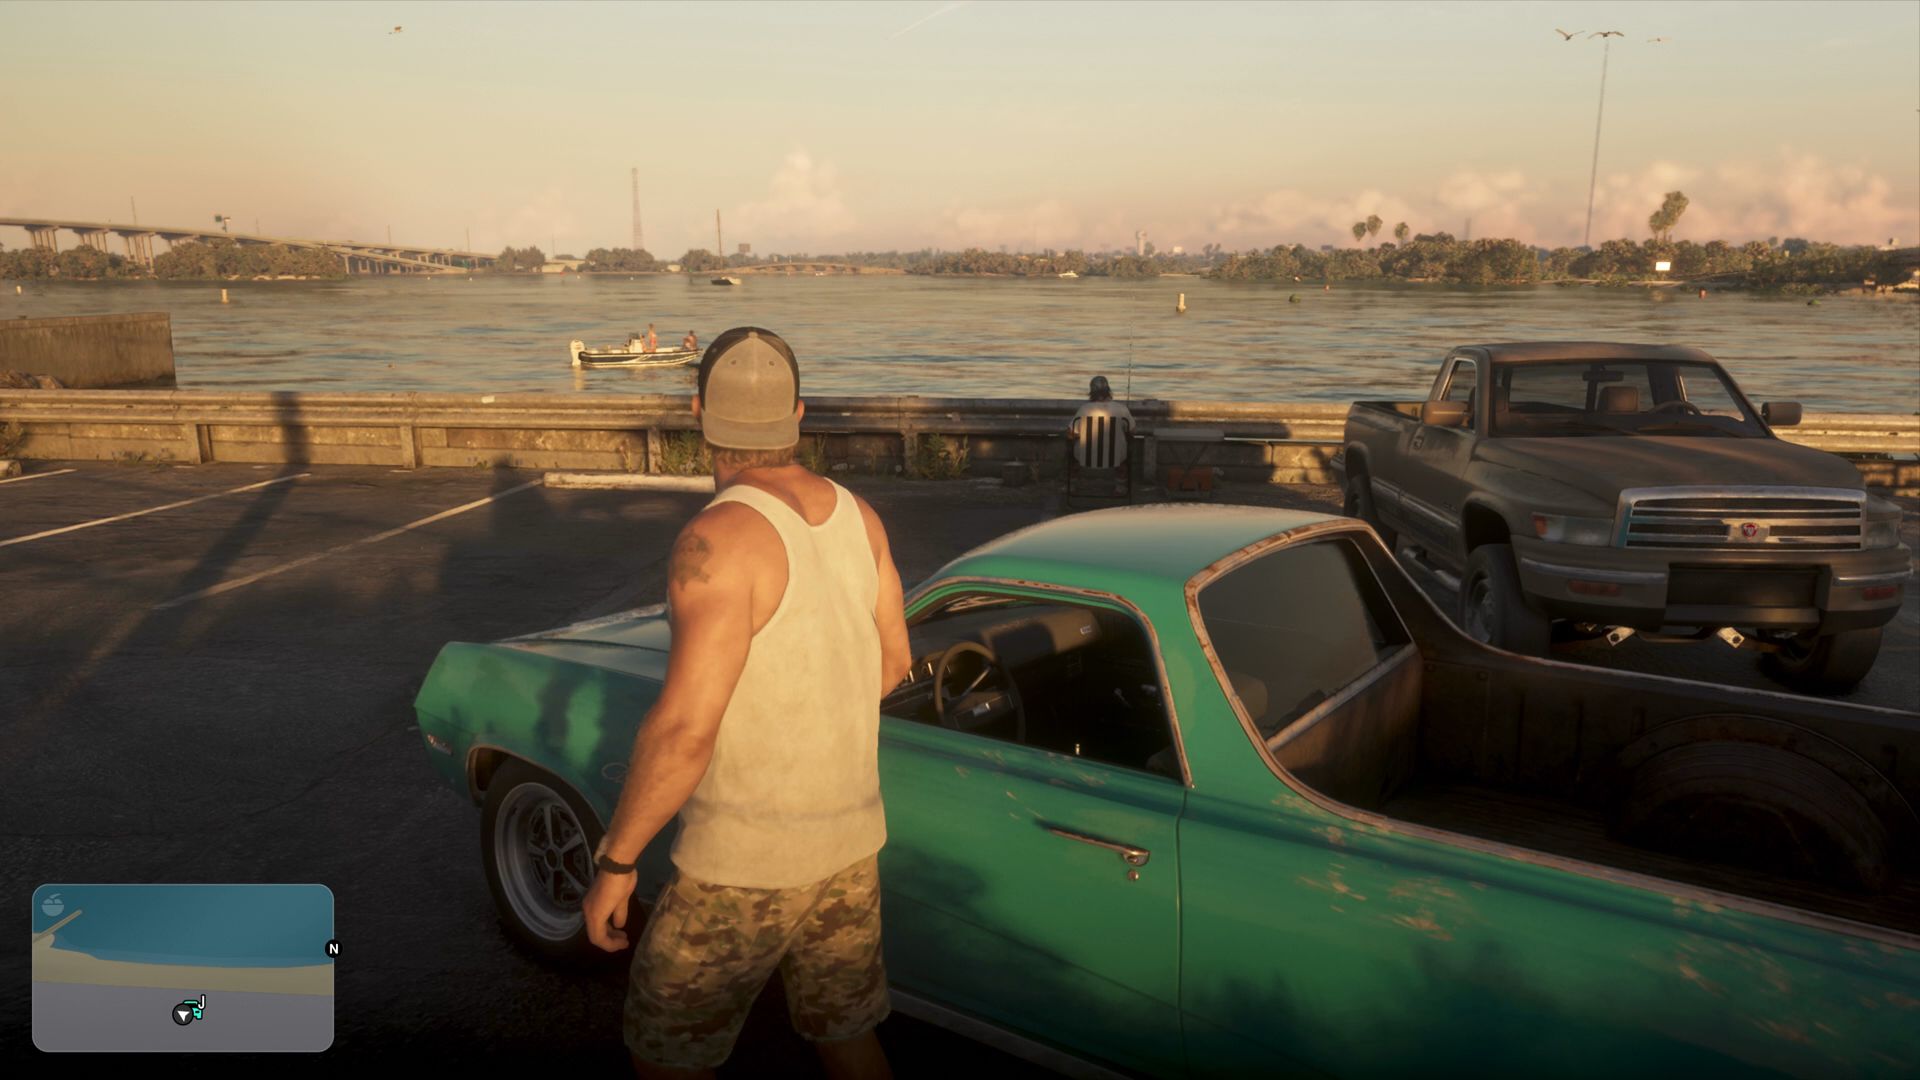
With some simpler missions out of the way, it's time for one that tests your ability to scrap with the police and come away clean. When you're ready, mark Go See Cal on the map and then drive to the location. It's northeast of your house. As you pull up to where he is sitting by a low wall, the mission begins.
 Credit: Rockstar Games/Rockstar North
 Credit: Rockstar Games/Rockstar North
The mission starts with a conversation with Cal, who is alarmed by your sudden arrival.
Get in Cal's truck
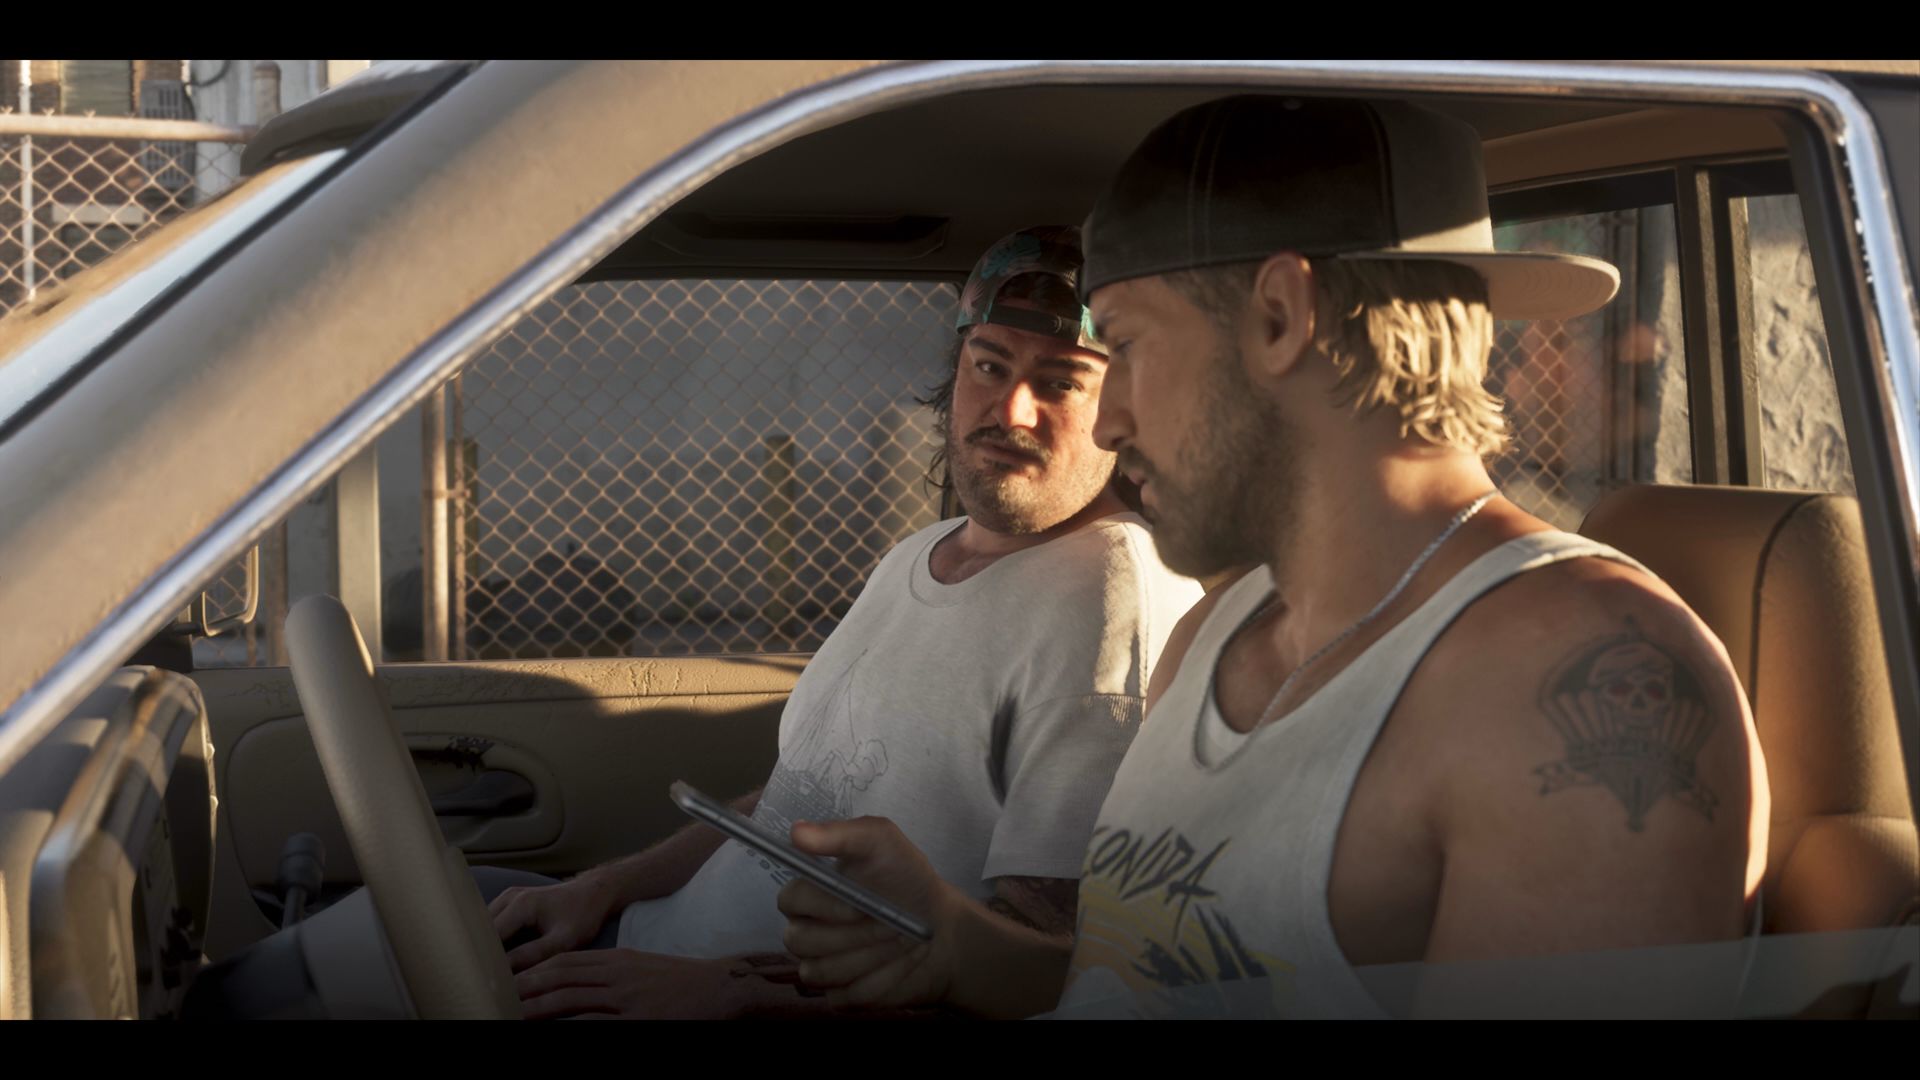
Cal instructs you to drive the pair of you to your destination. Head around to the driver's side of Cal's '95 Bison 900 vehicle and get in. Wait for Cal to join you.
 Credit: Rockstar Games/Rockstar North
 Credit: Rockstar Games/Rockstar North
Drive to Hamlet with Cal
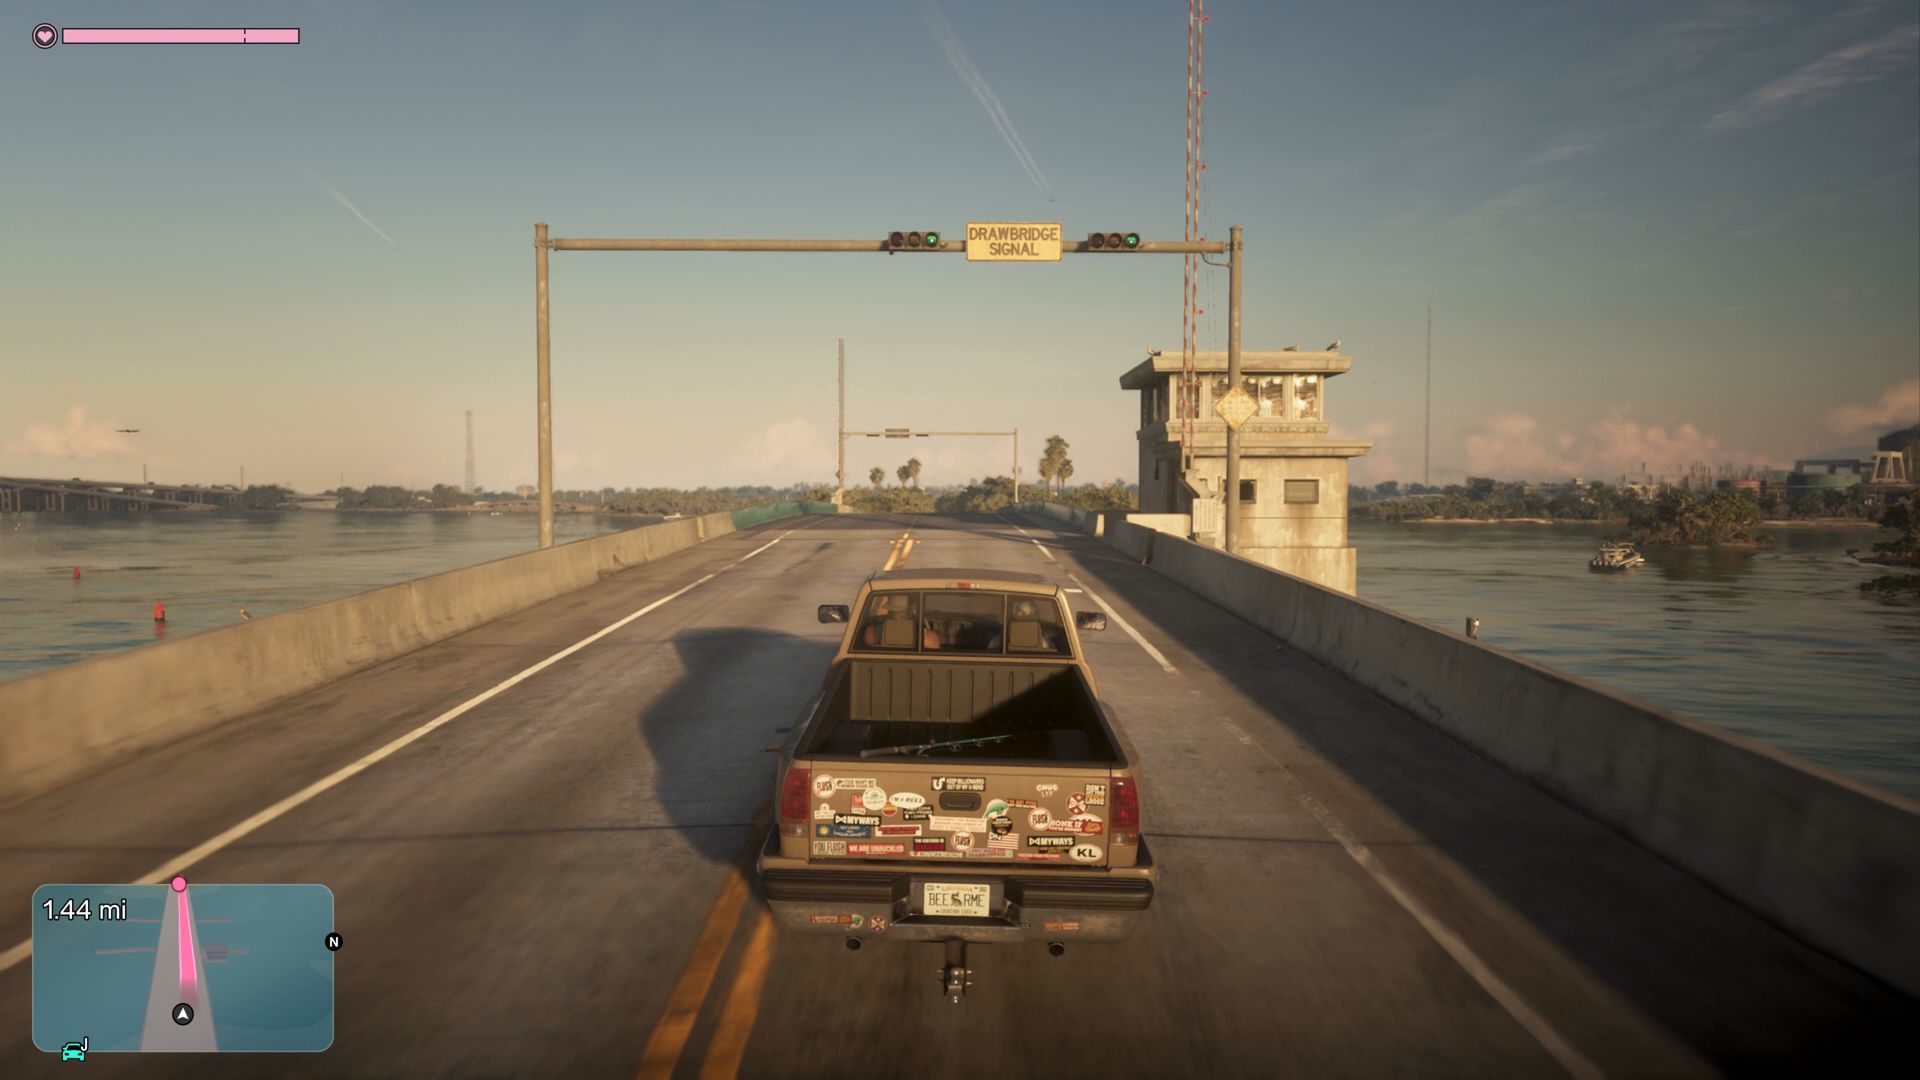
Take off from the parking lot and follow the map's markers. They'll steer you to your destination, north and across a drawbridge. It's a long but peaceful drive, most likely.
When you arrive at your destination, a scene follows. Cal installs the Cop Scanner setting on your phone.
 Credit: Rockstar Games/Rockstar North
 Credit: Rockstar Games/Rockstar North
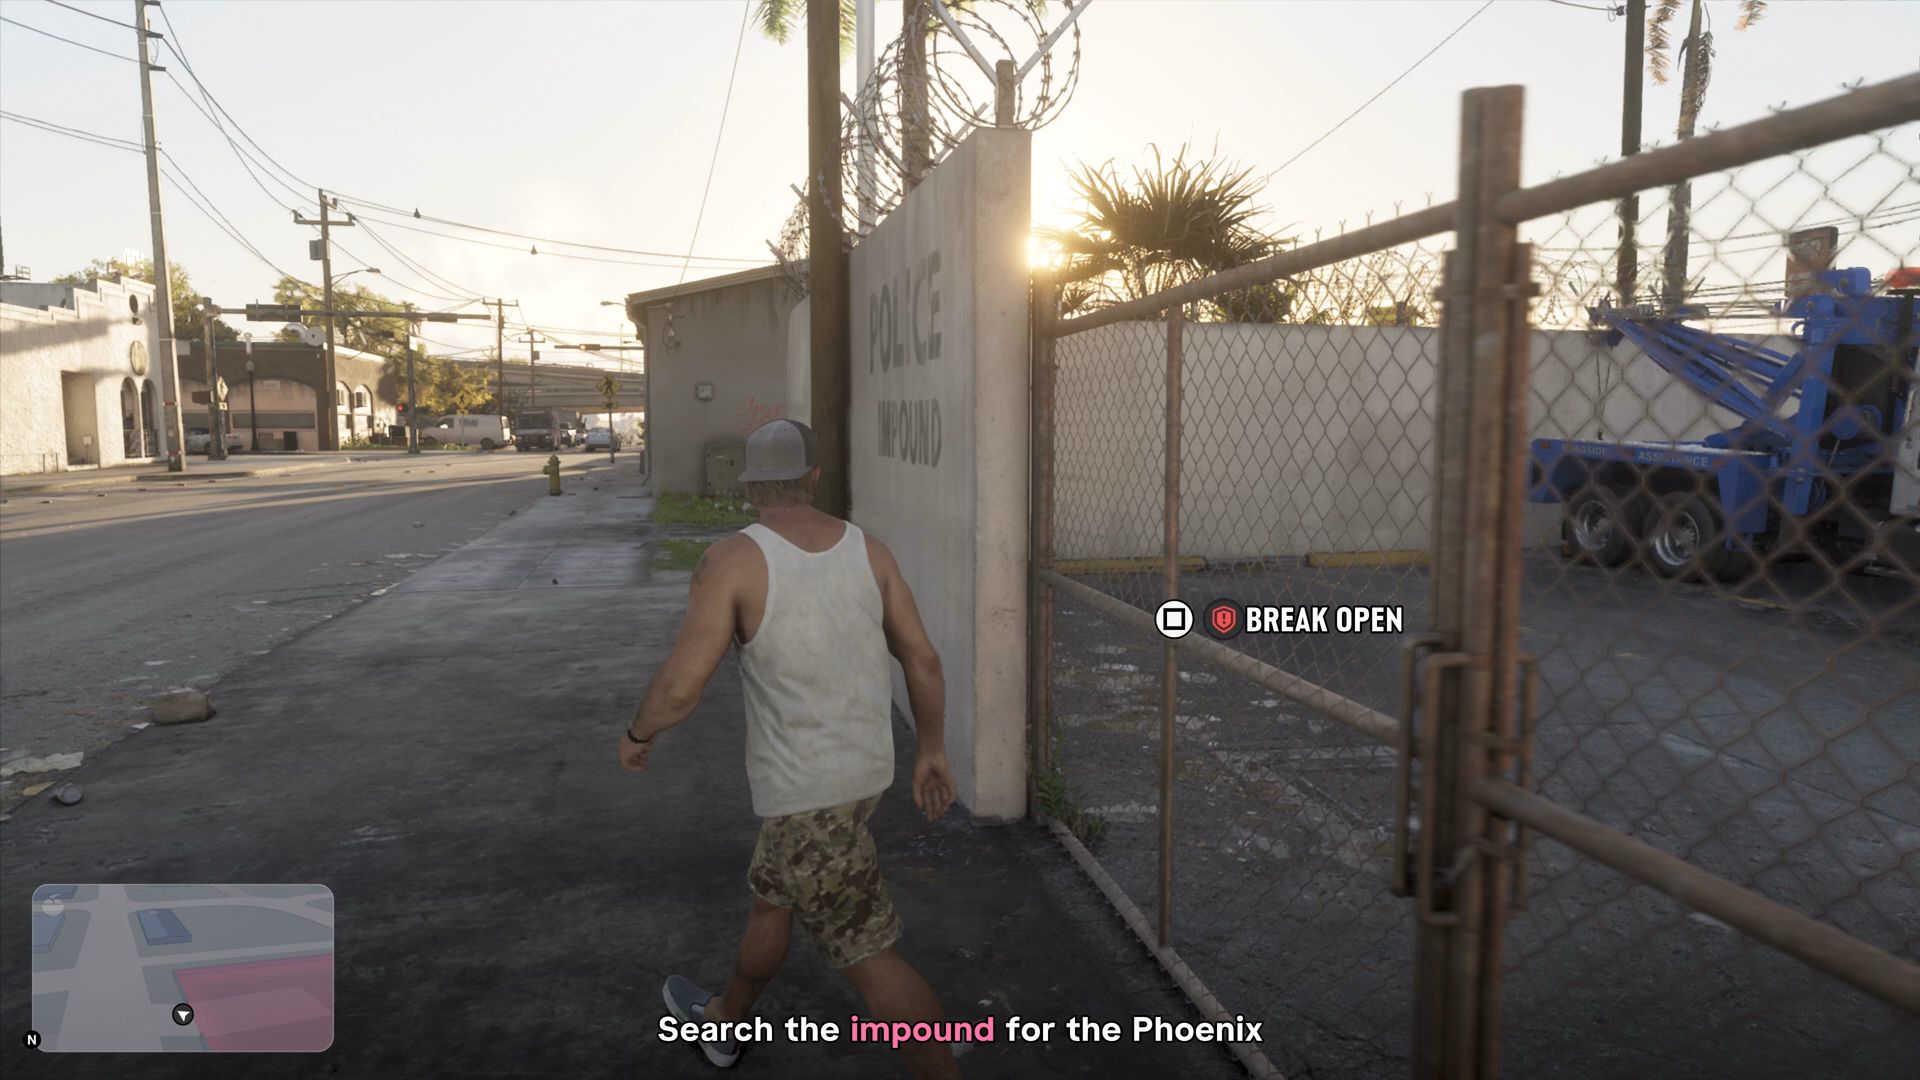
Search the impound for the Phoenix
Your target is a Phoenix vehicle currently being held in the impound lot. You don't have permission to leave with it, so you'll have to get creative.
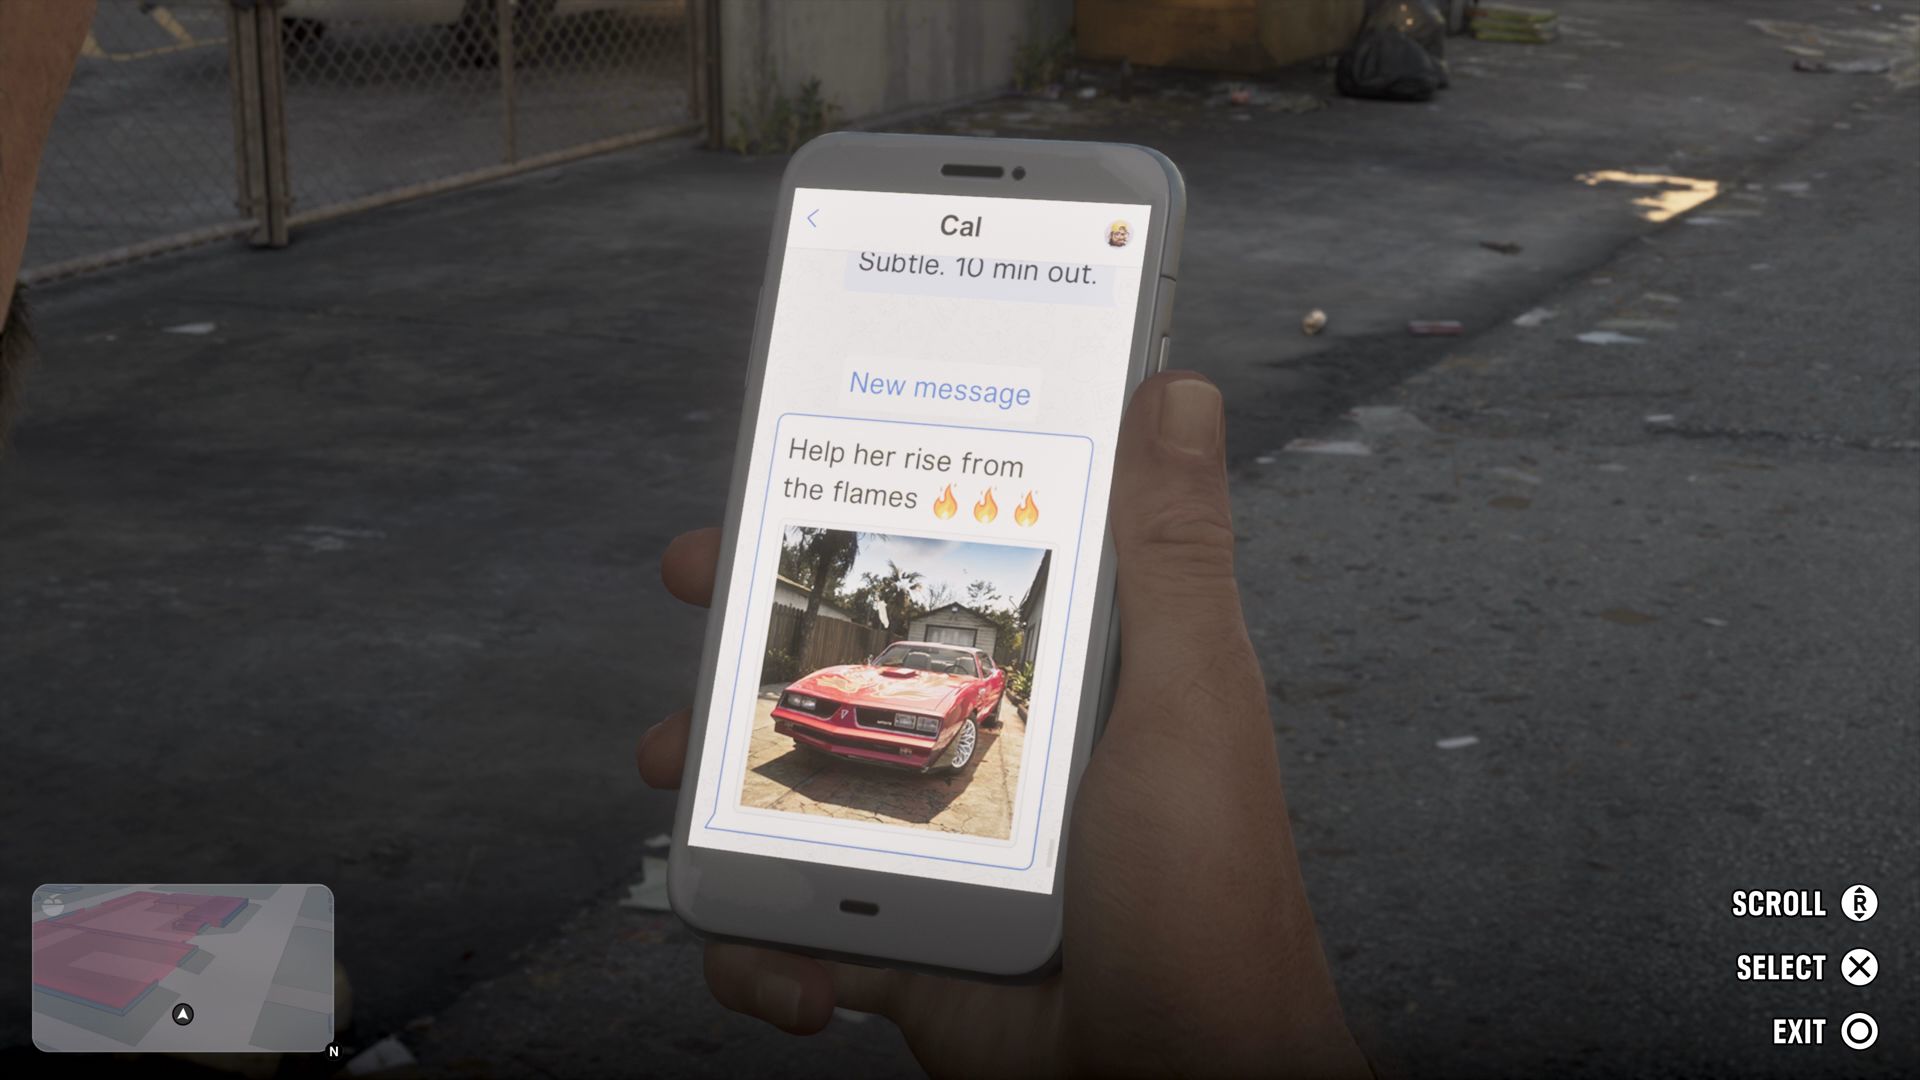
As you start toward the lot, Cal texts you a picture of the vehicle you hope to steal. If you want, you can try to break open the front gate, but there's a better way.
 Credit: Rockstar Games/Rockstar North
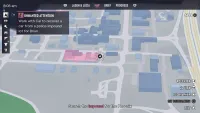
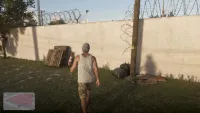
While facing the gate, turn left and head around the wall. There is a gap in the barbed-wire, which you can take advantage of to climb into the lot's front portion.
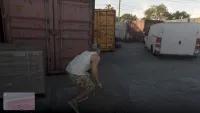
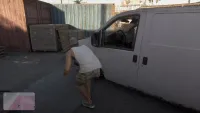
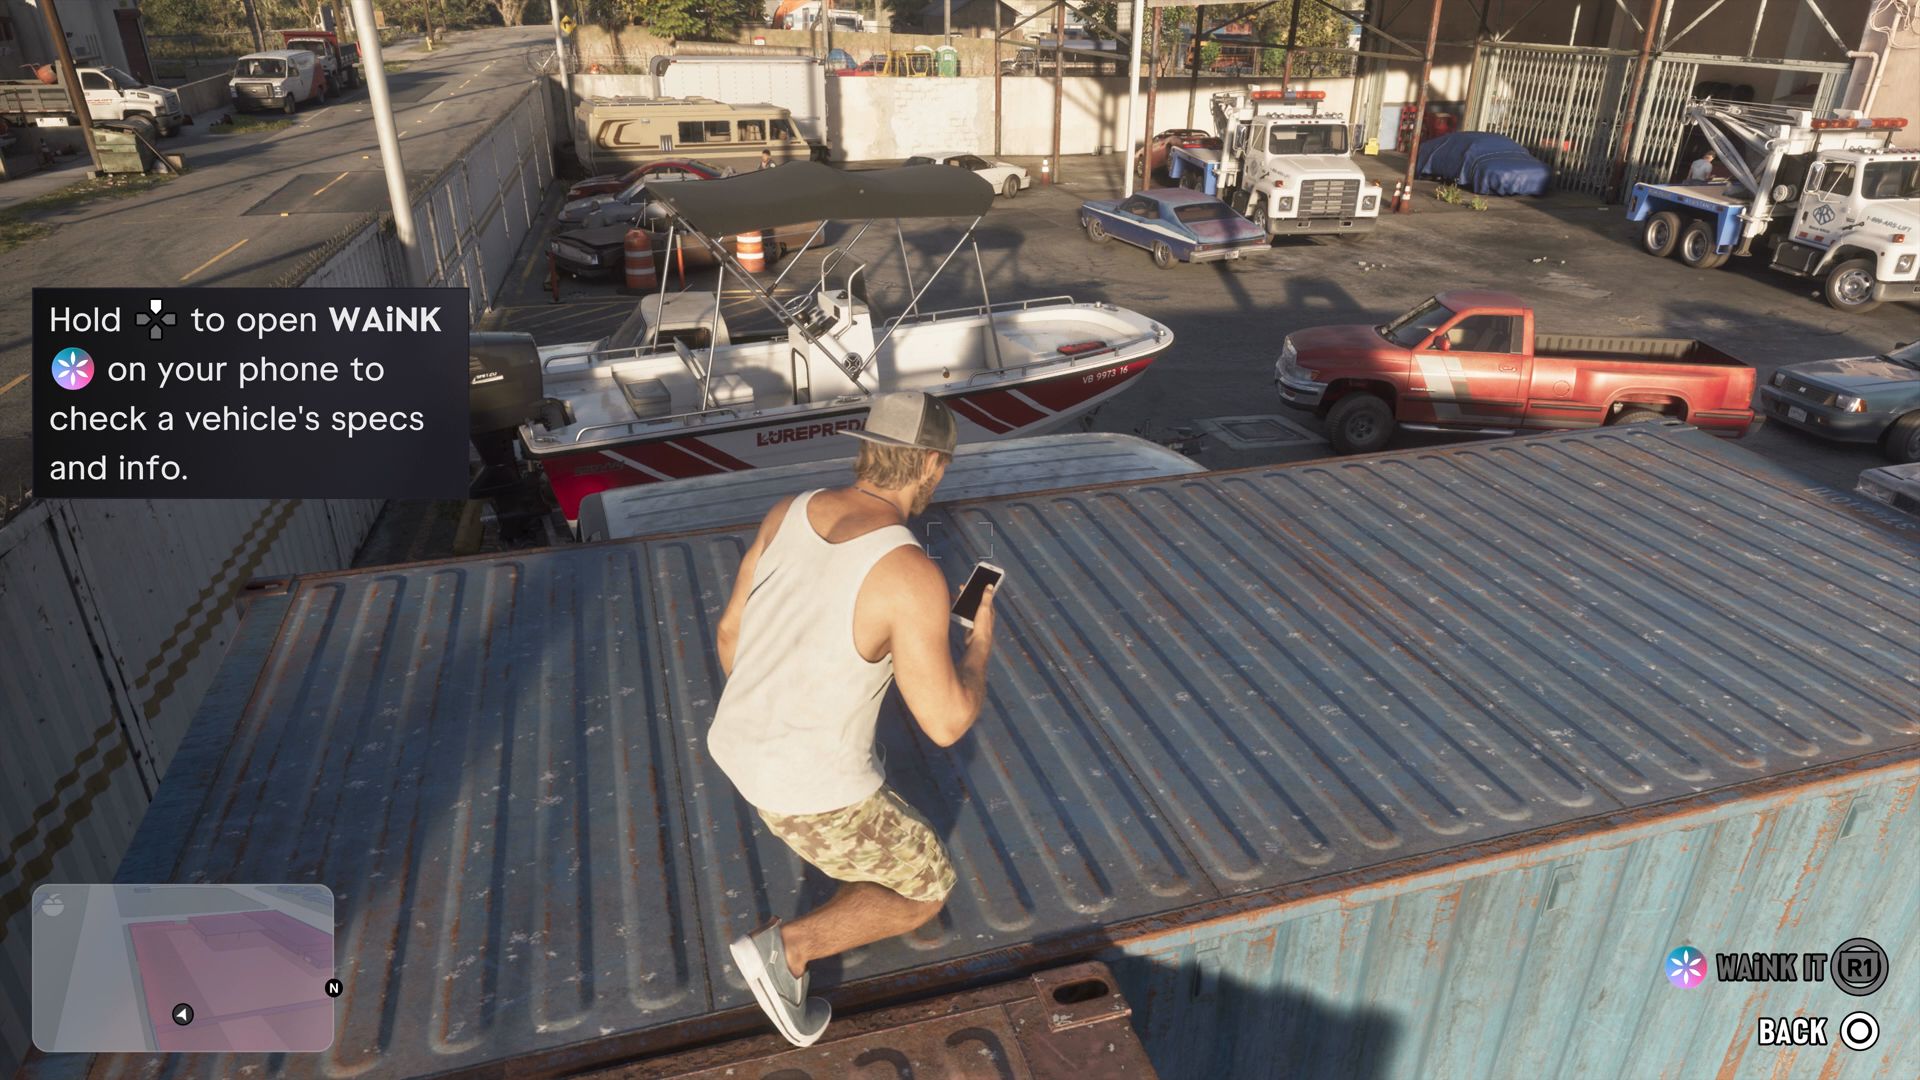
Once you land in the lot, turn left and crouch. While still crouched, keep in that direction. Move past a white van that is parked near a crate and some large storage container. Climb onto the crate, and from there to the top of the blue storage container.
 Credit: Rockstar Games/Rockstar North
 Credit: Rockstar Games/Rockstar North
 Credit: Rockstar Games/Rockstar North
When you are in position along the nearest edge of the container, you receive a prompt letting you know you can hold UP to access the WAiNK app on your phone and check vehicle specs. In the distance, you should see a white tow truck with a vehicle hooked to it, and police officers patrolling the area.
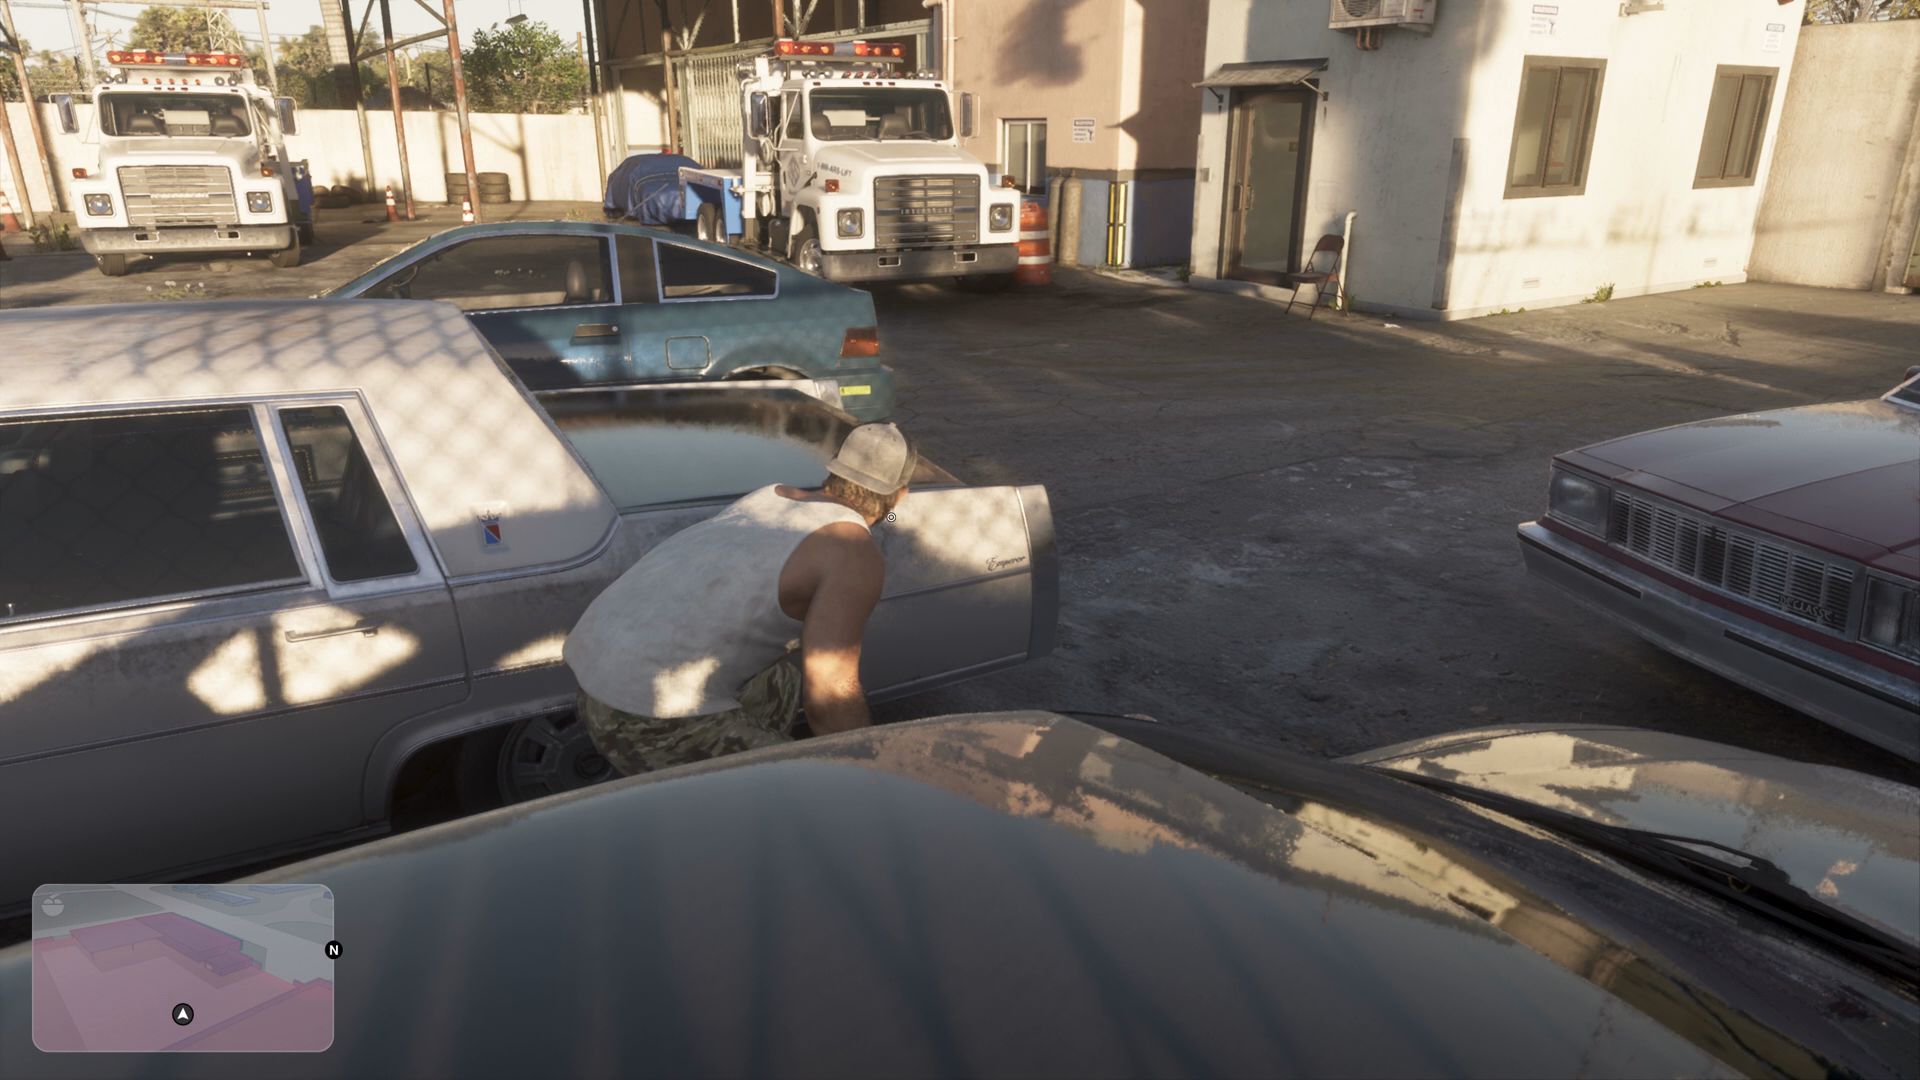
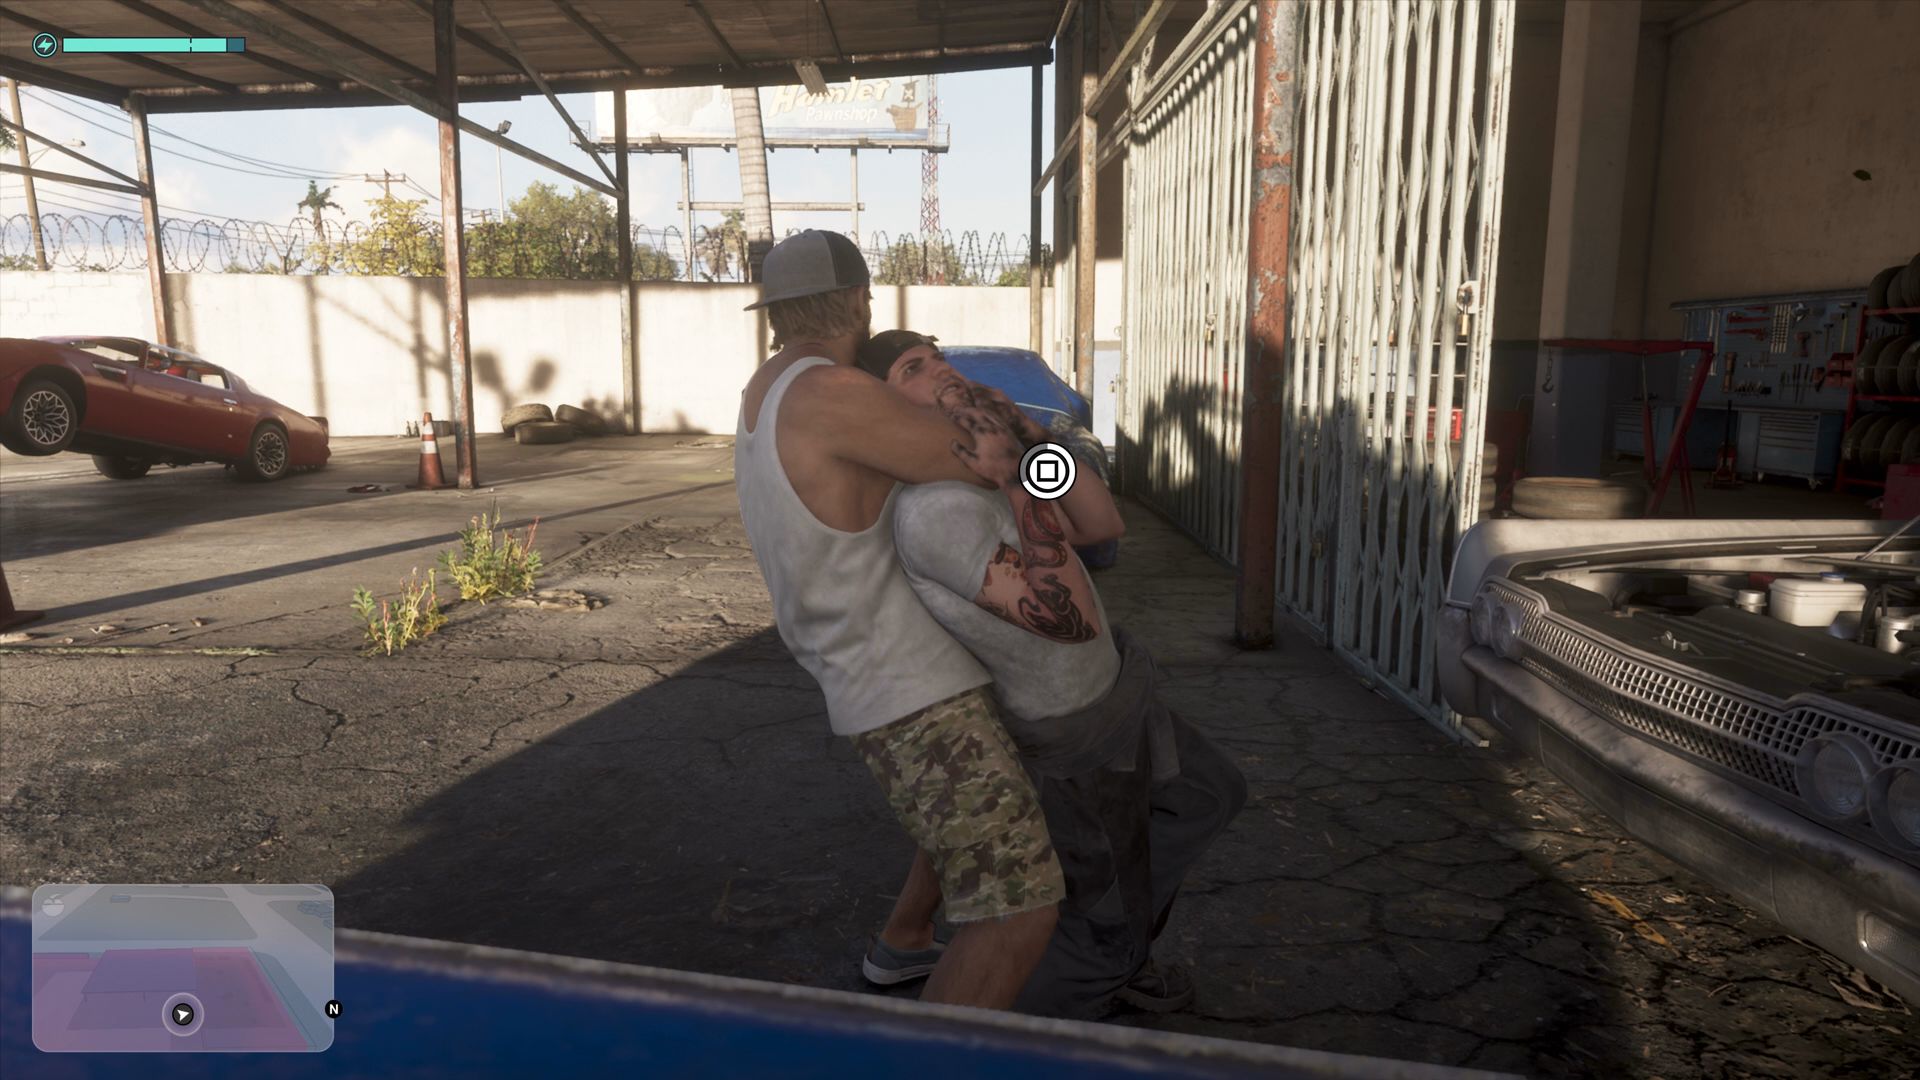
The easiest path here is to drop off the right end of the container and creep through the cars parked nearby. Watch for the white tow truck parked near a building. Approach it and head along its right side to find and subdue a guy wearing mechanic's garb. Once you grab him, you'll have to choke him until he passes out, hopefully without alerting the officers.
 Credit: Rockstar Games/Rockstar North
 Credit: Rockstar Games/Rockstar North
Steal the Phoenix
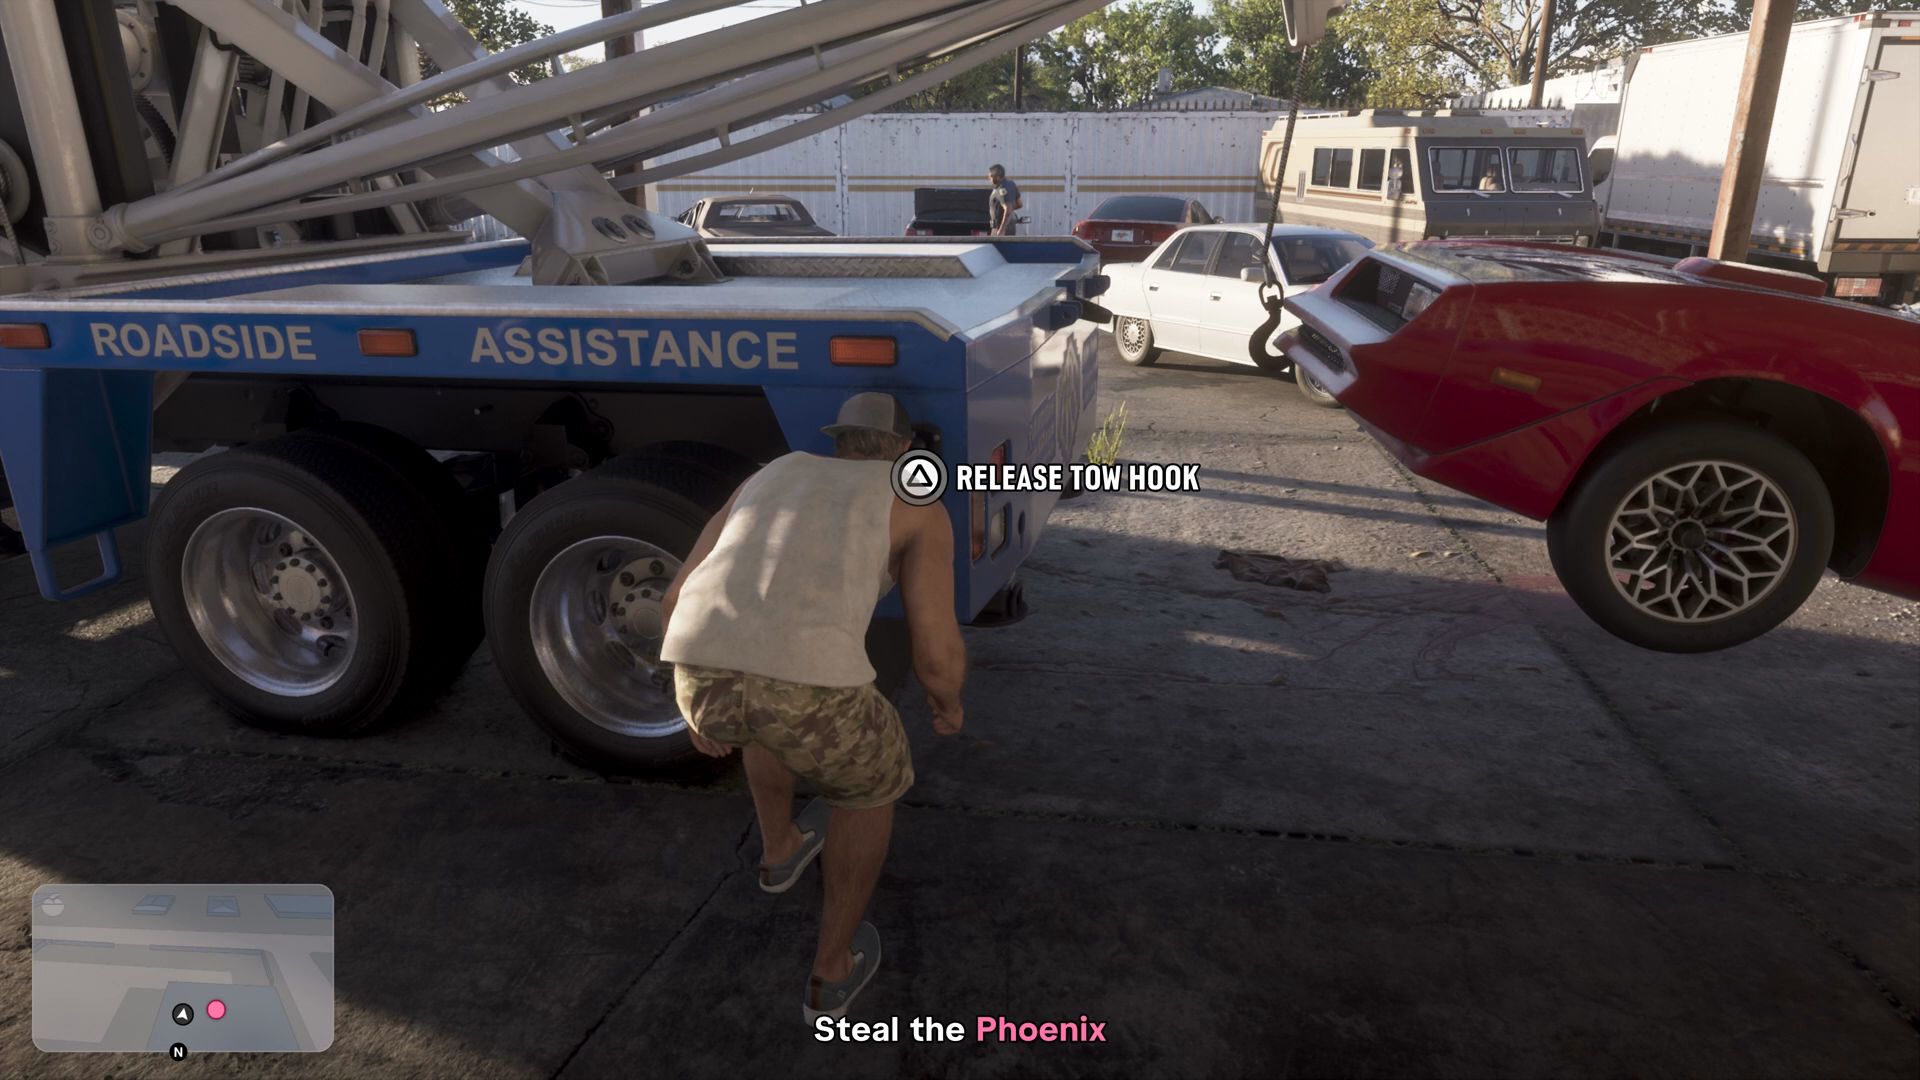
Move past the downed mechanic, keeping the tow truck between you and the next officer. As you get near, you'll see a new objective.
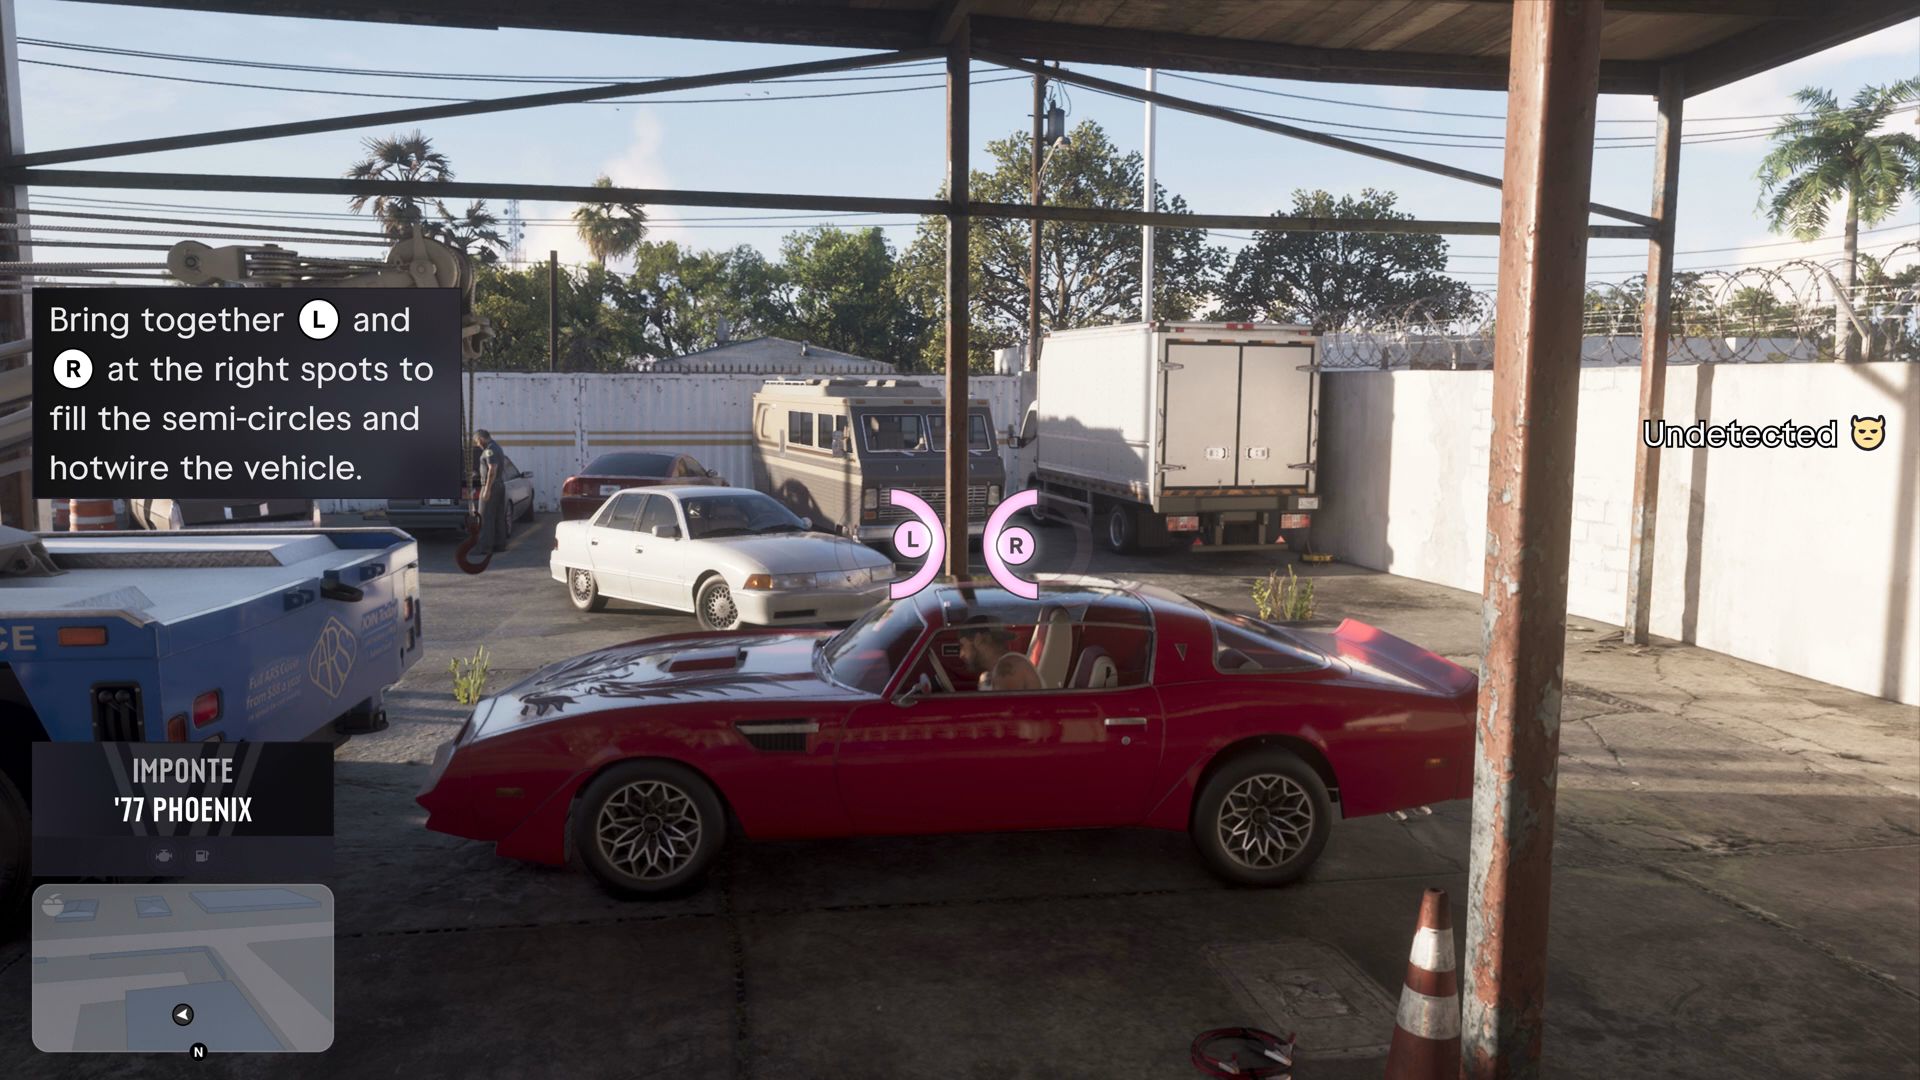
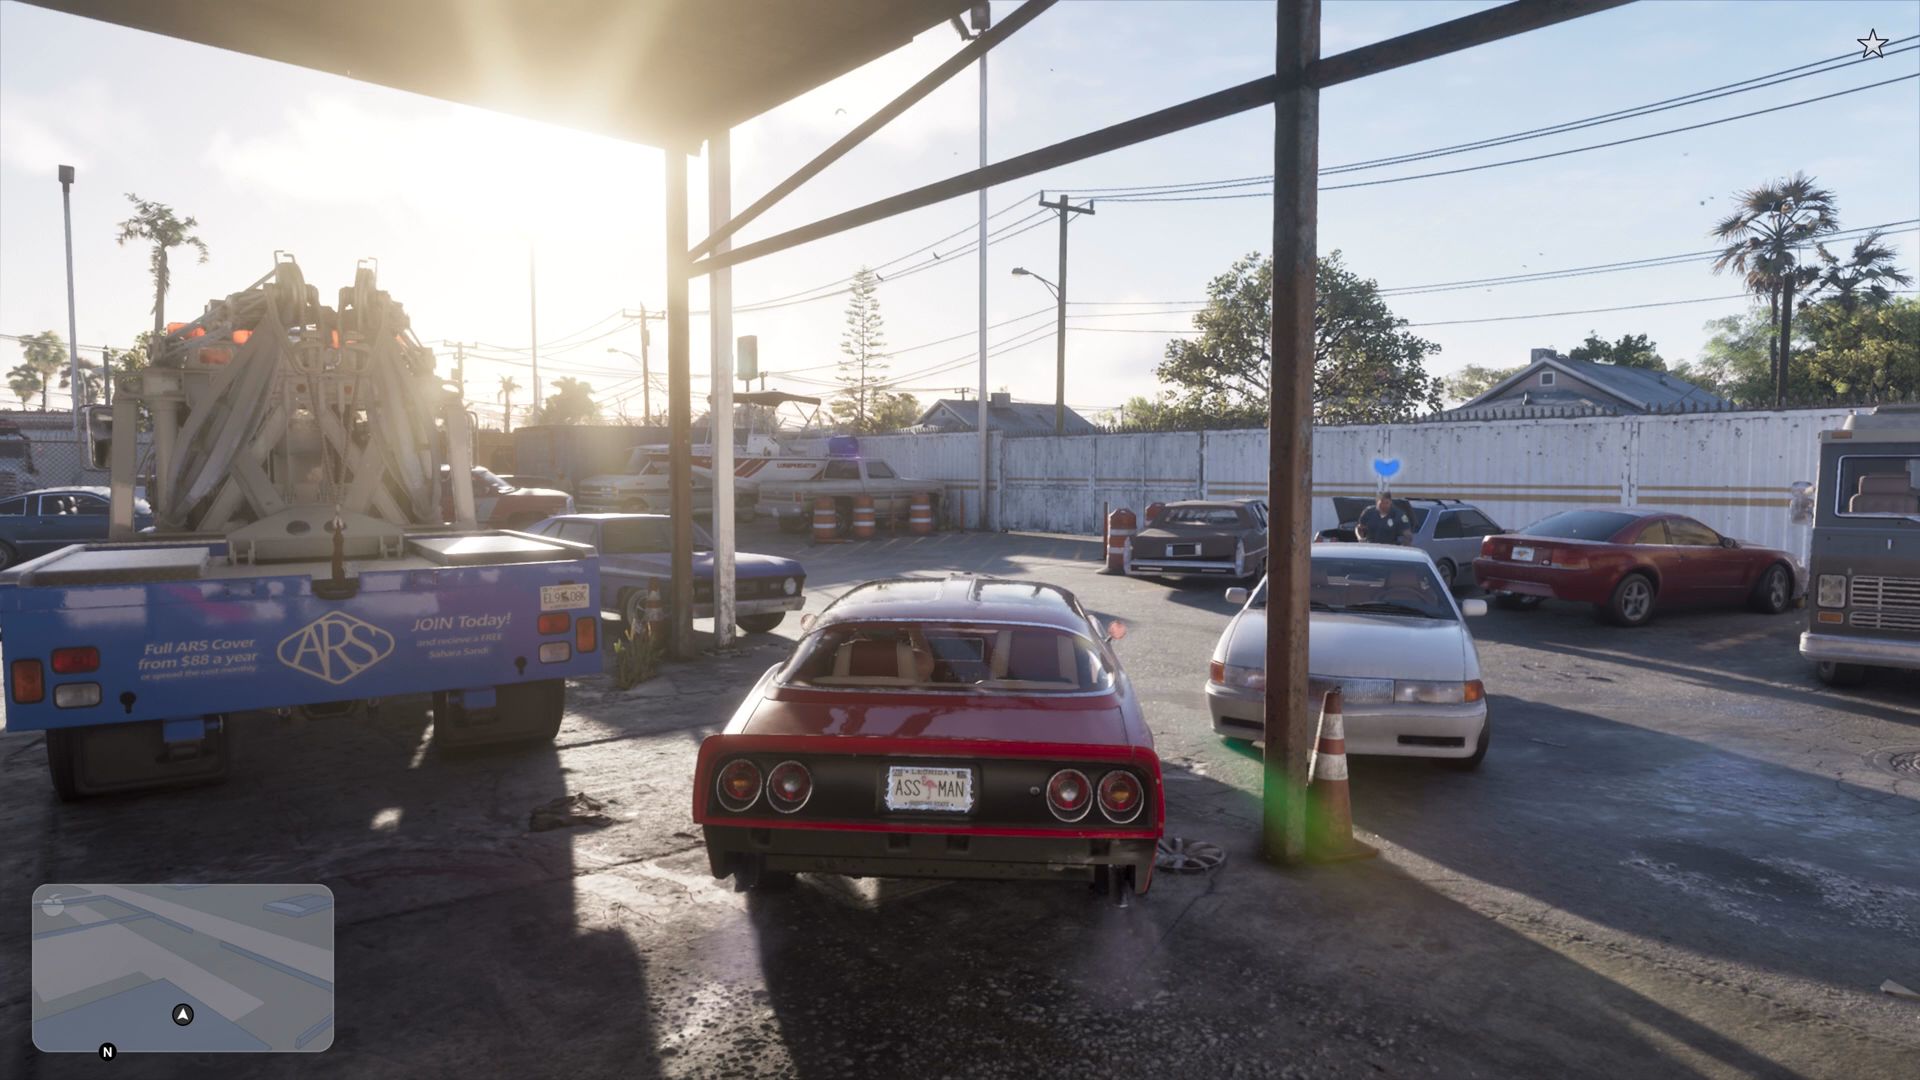
Stand near the tow truck's back tires and access the release tow hook option to lower the car's front tires to the ground. This does not typically alert anyone to your presence. Then climb into the driver's seat of the Imponte '77 Phoenix.
When you are inside the car, you'll need to do as the on-screen prompt instructs. Bring the L and R analog sticks together so they meet in the middle. That will hotwire the vehicle.
 Credit: Rockstar Games/Rockstar North
 Credit: Rockstar Games/Rockstar North
 Credit: Rockstar Games/Rockstar North
Lose the cops
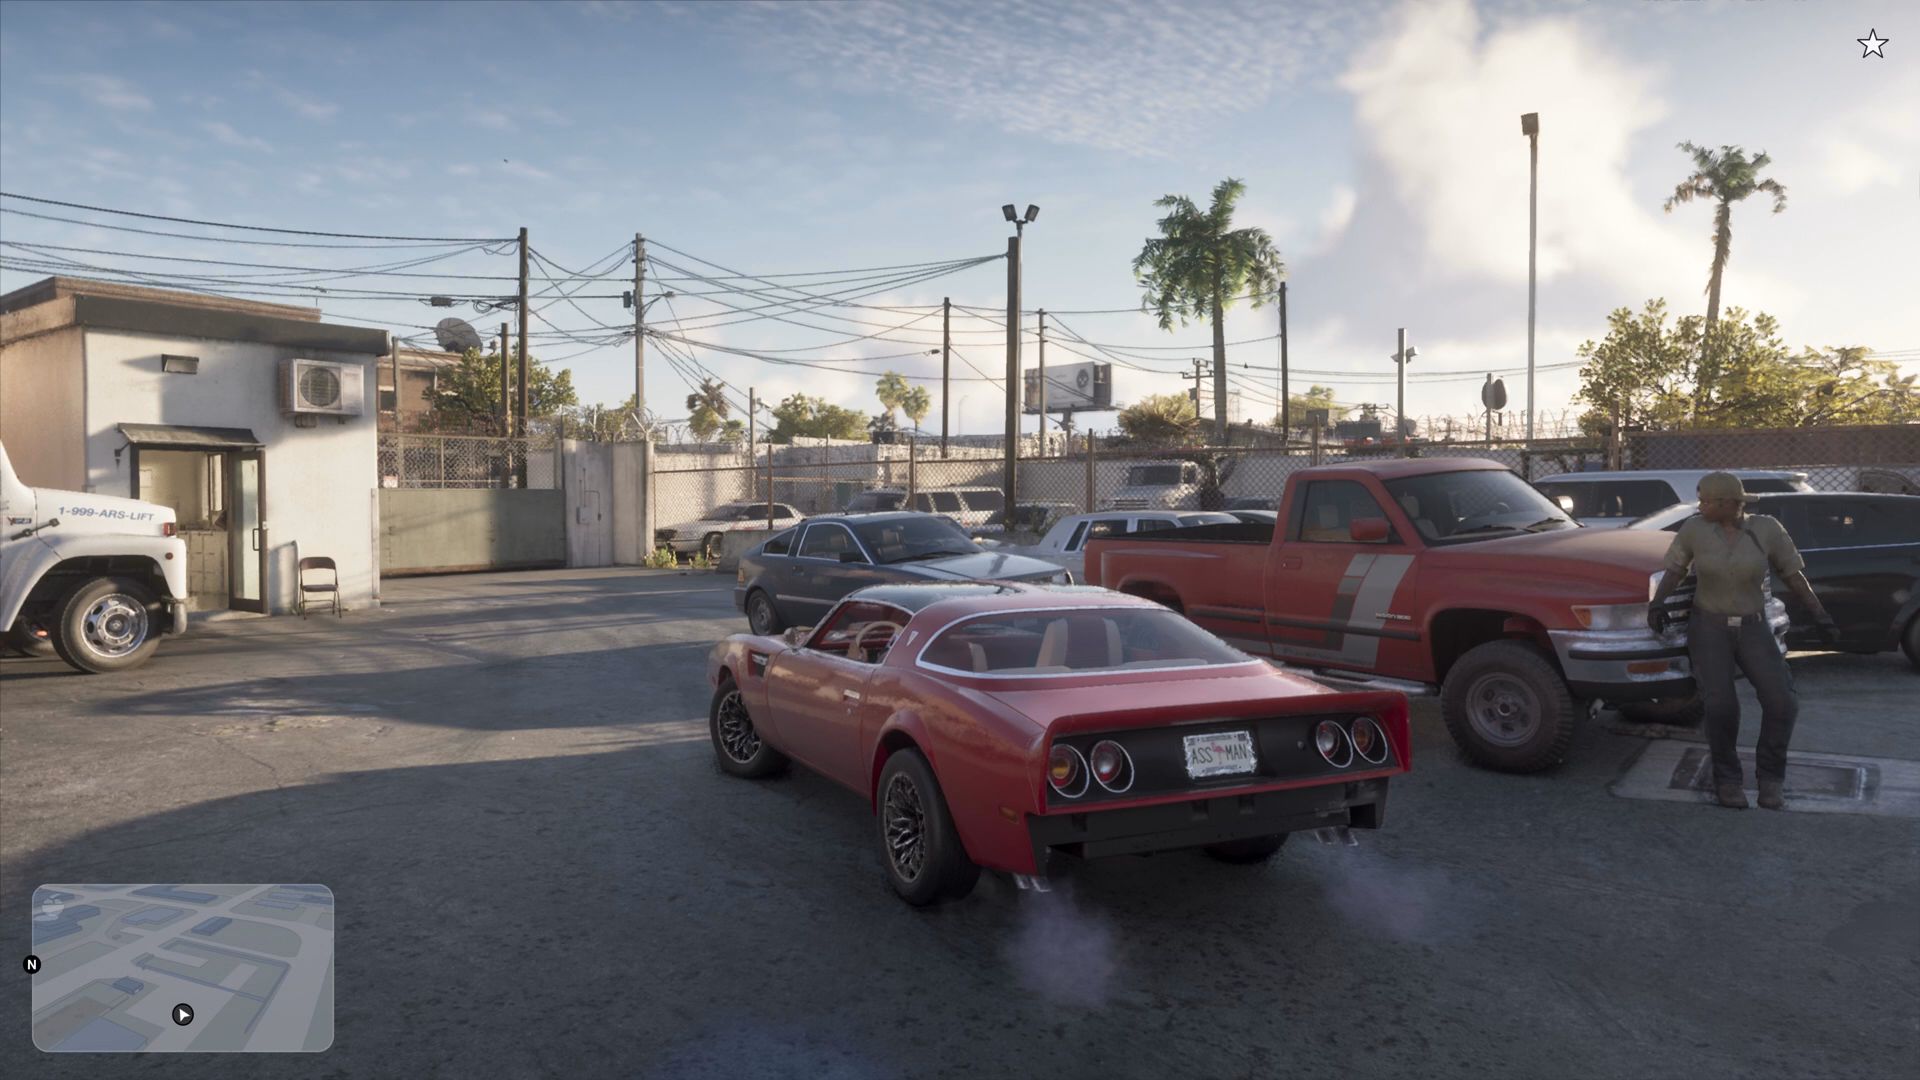
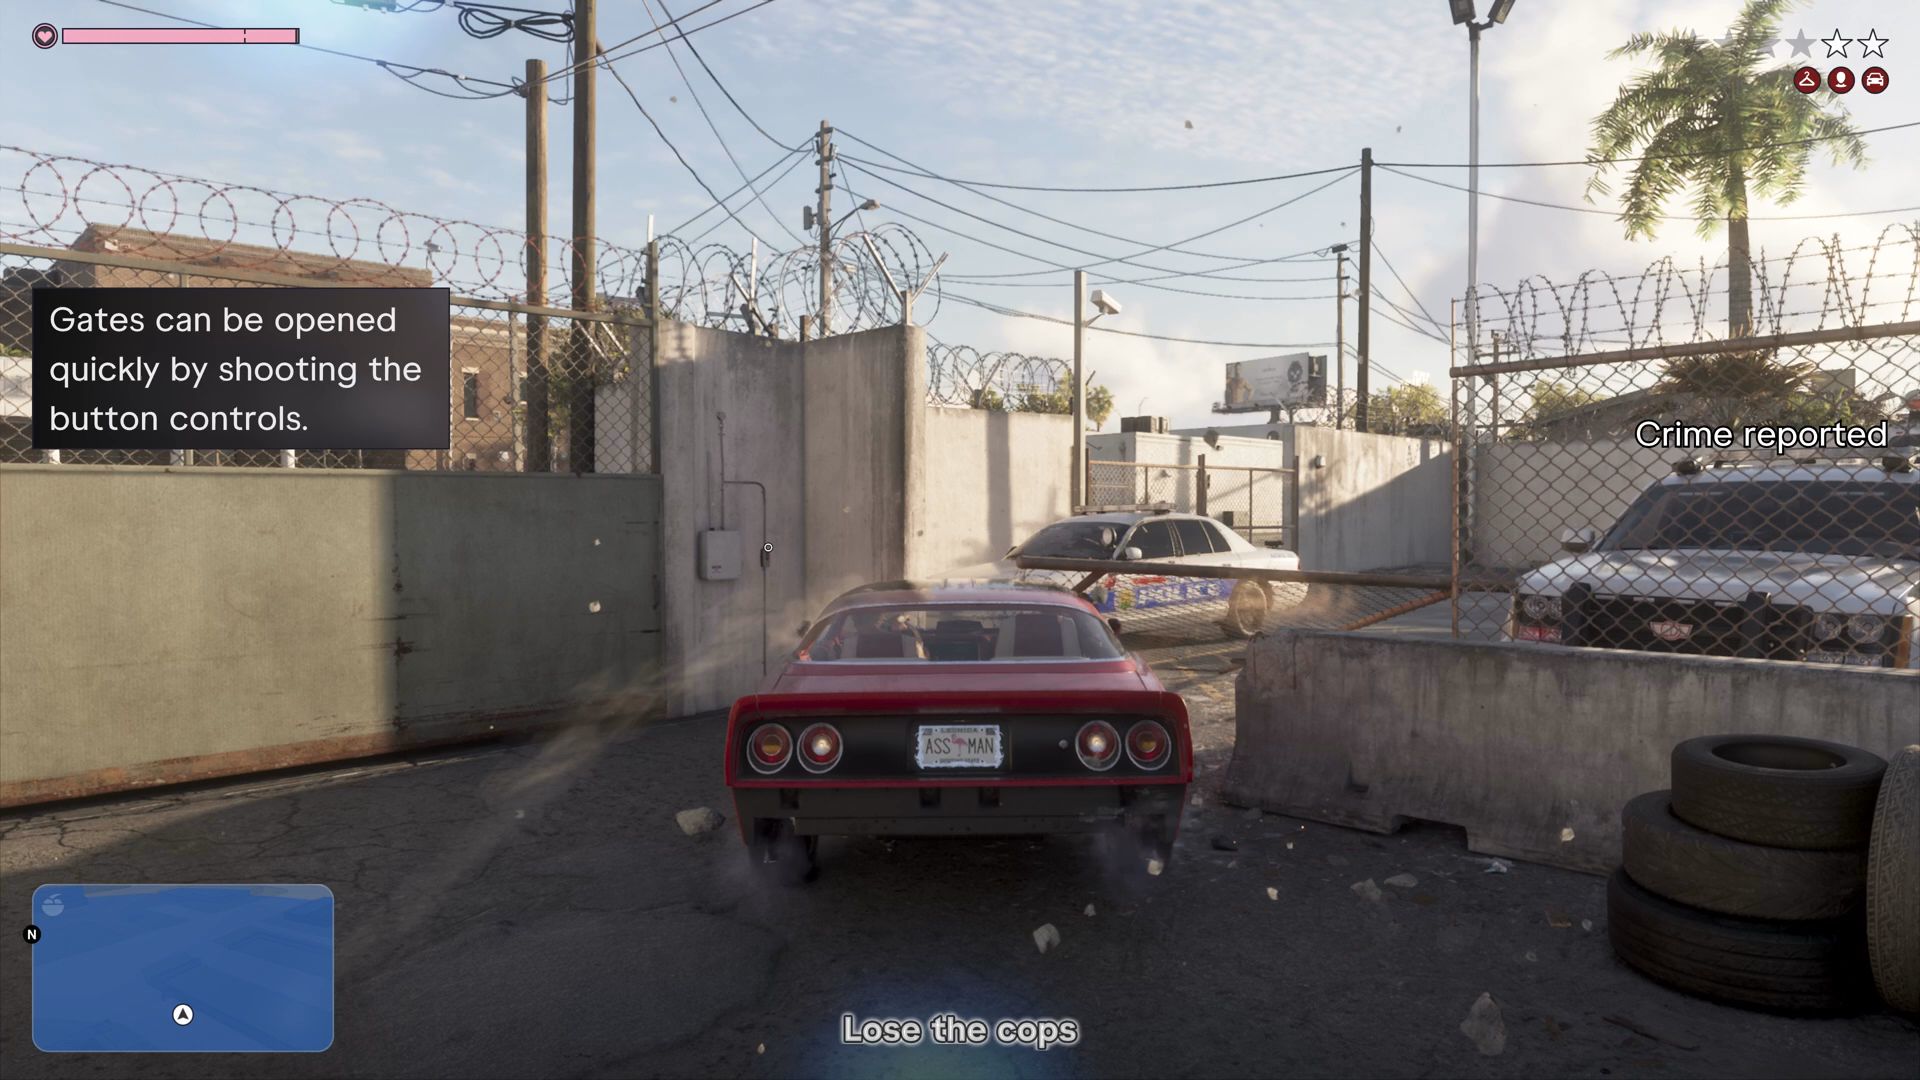
There's no escaping notice now. Drive quickly forward through the opening. Then swerve tightly left to drive past a red pickup and a sedan, then steer right and drive straight through the gate. The next gate is a (very) sharp turn to your left.
I tend to steer right here, which seems like the wrong move. But if you do the same thing, you can then slam the vehicle into reverse and back out of that next gate, as needed. You want to keep moving quickly, whatever you do, so the police officers don't have time to overtake you. Backup is also on the way, so time is of the essence.
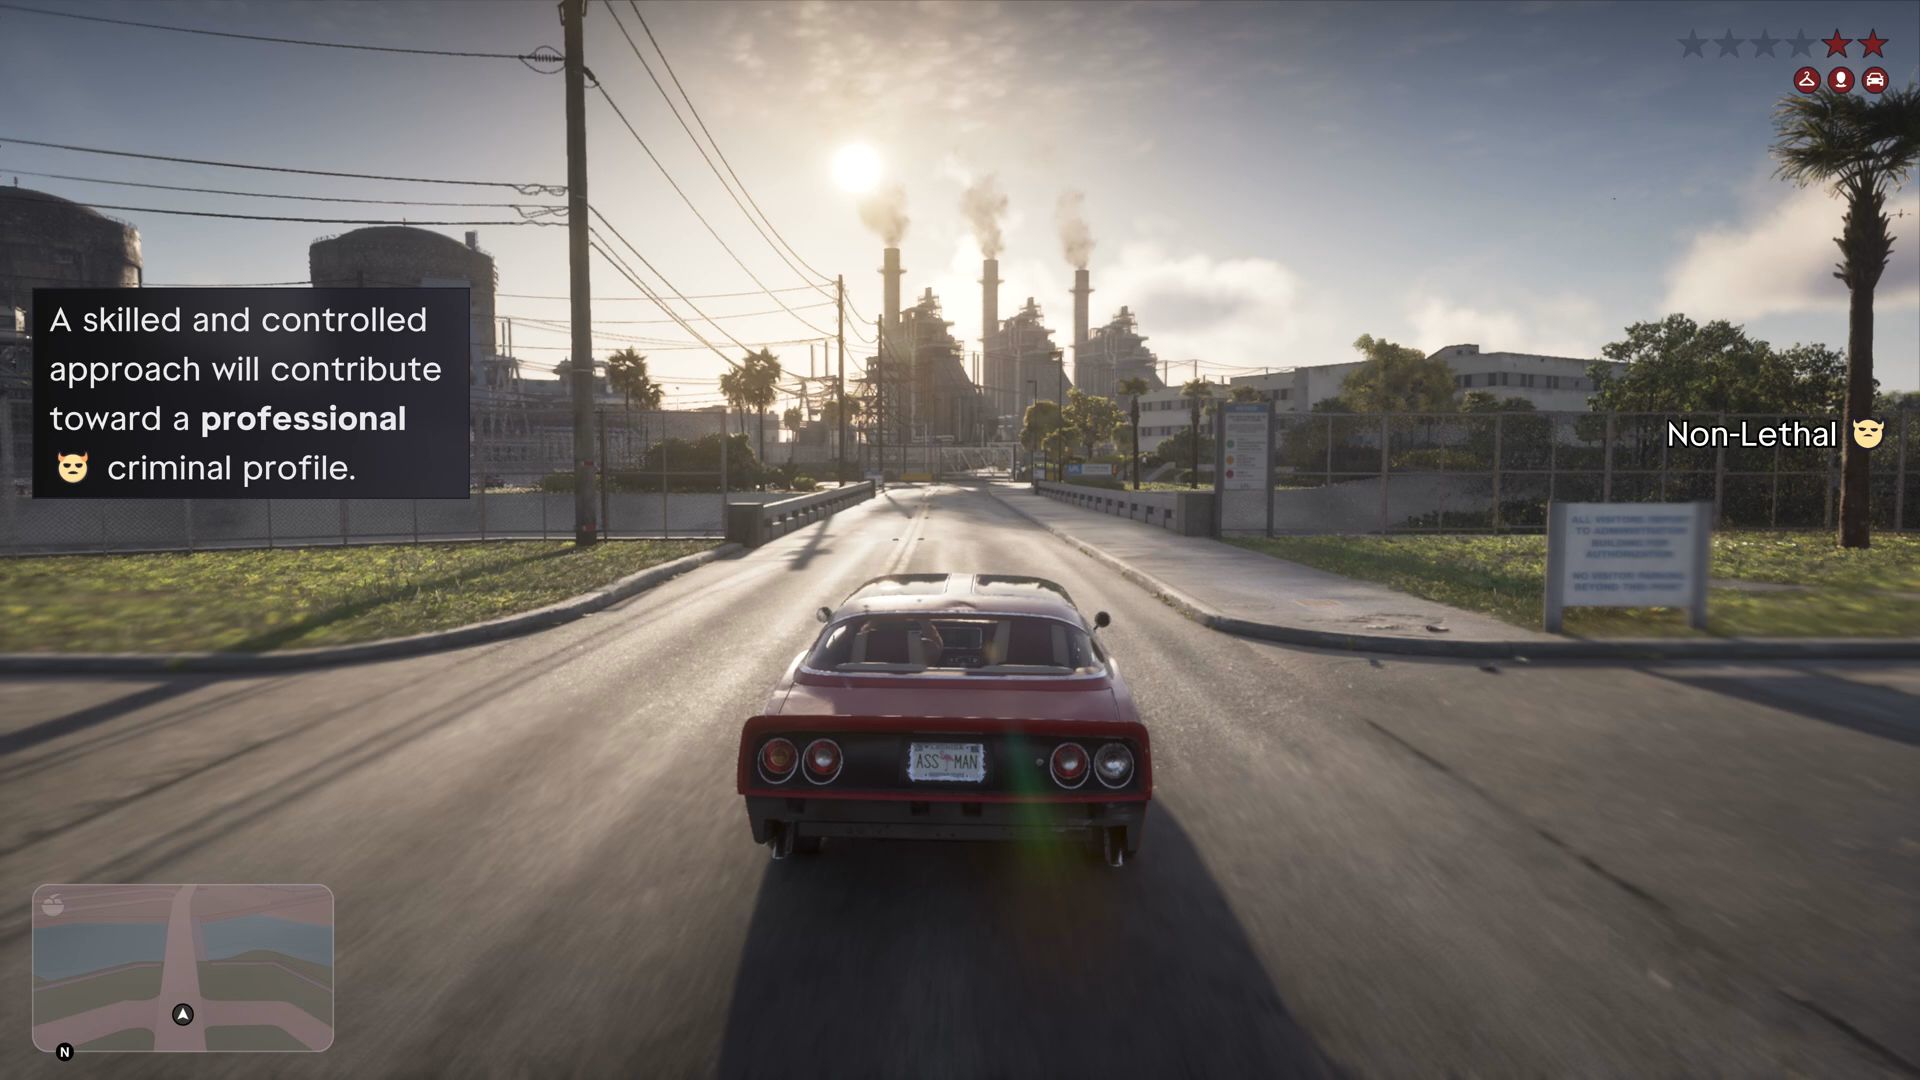
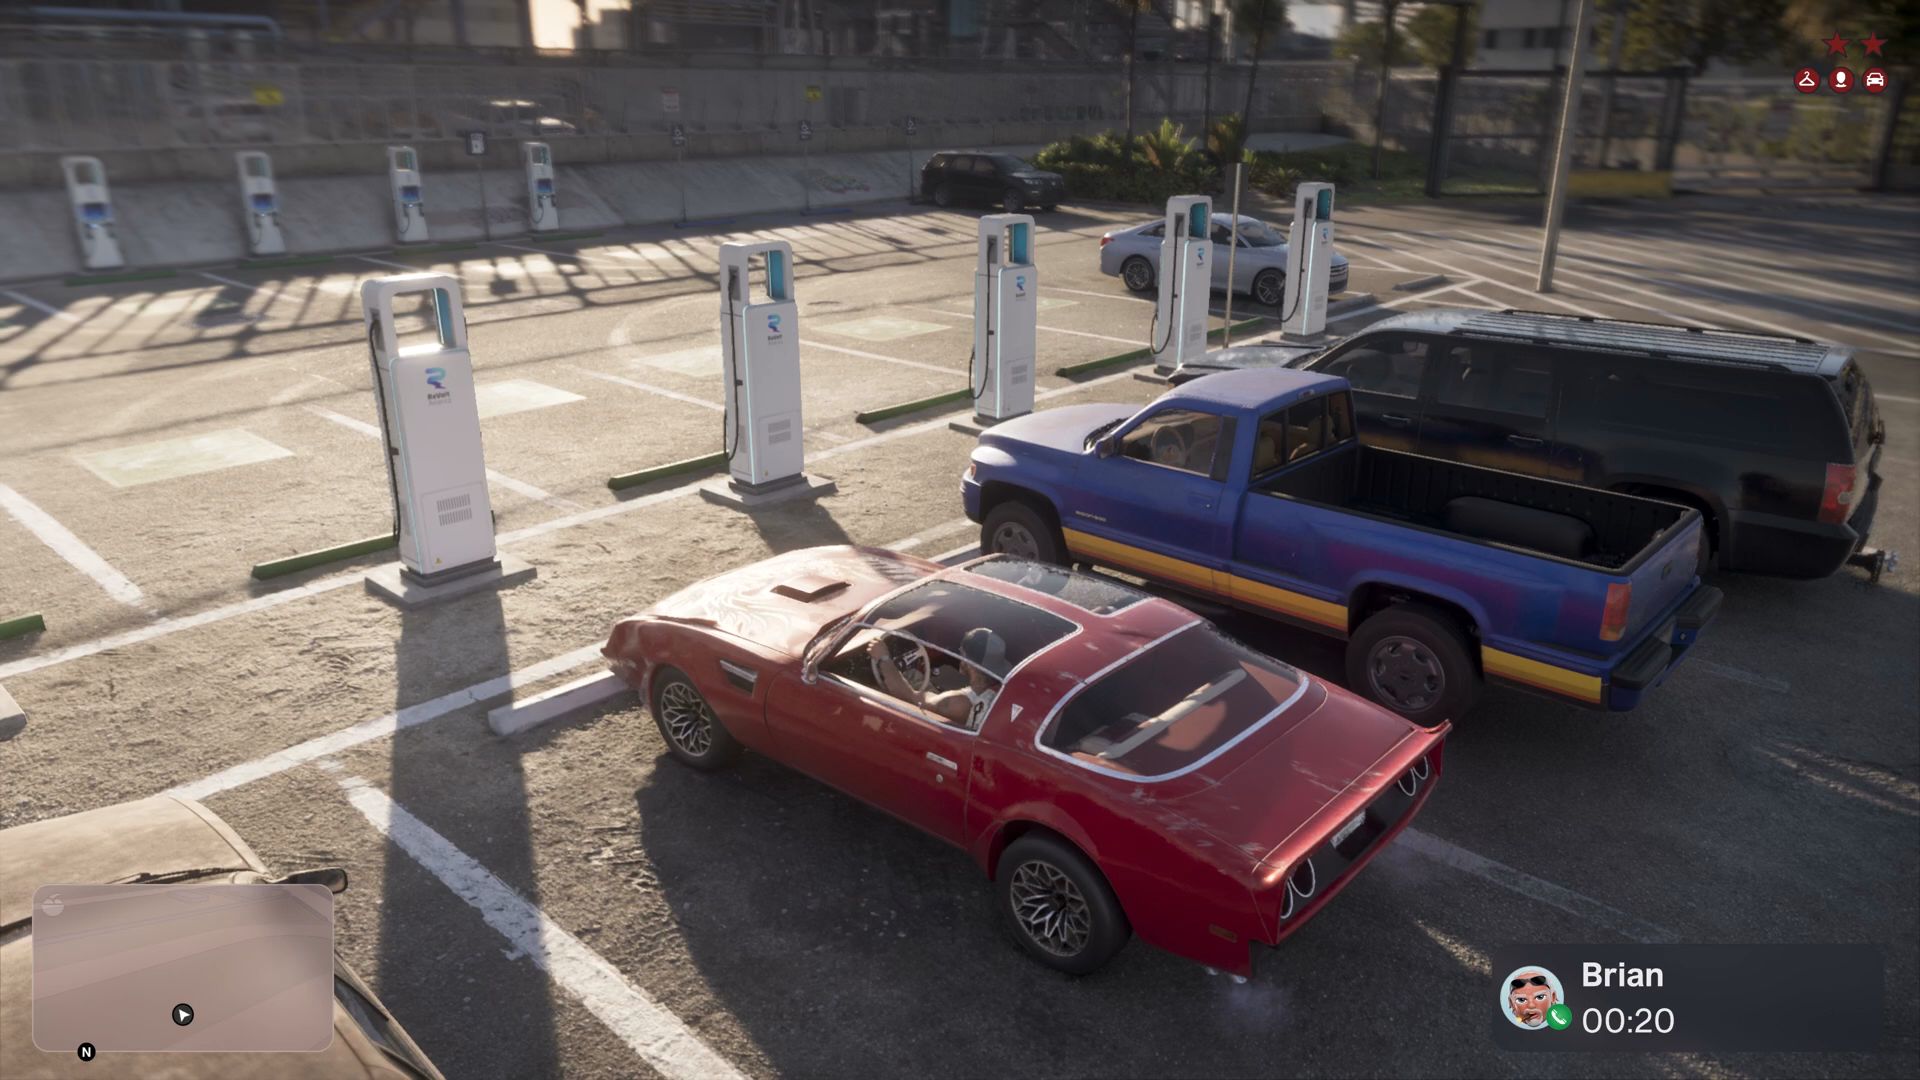
As you reach the street outside the impound lot, a tip will appear on-screen, letting you know you can lose the cops by hiding or escaping their search area.
 Credit: Rockstar Games/Rockstar North
 Credit: Rockstar Games/Rockstar North
Keep driving now. Stick to the roads with long stretches where you can see your way through traffic for a good long while. You need to keep going to exit the area the officers are searching most actively. Once you do, you may receive the Non-Lethal designation for your job up to that point, assuming you didn't kill anyone.
You also get a phone call from Brian. Let him talk while you drive, though. If you try to pull into a space to relax, someone may recognize you or the vehicle and try to intervene. That would be bad.
 Credit: Rockstar Games/Rockstar North
 Credit: Rockstar Games/Rockstar North
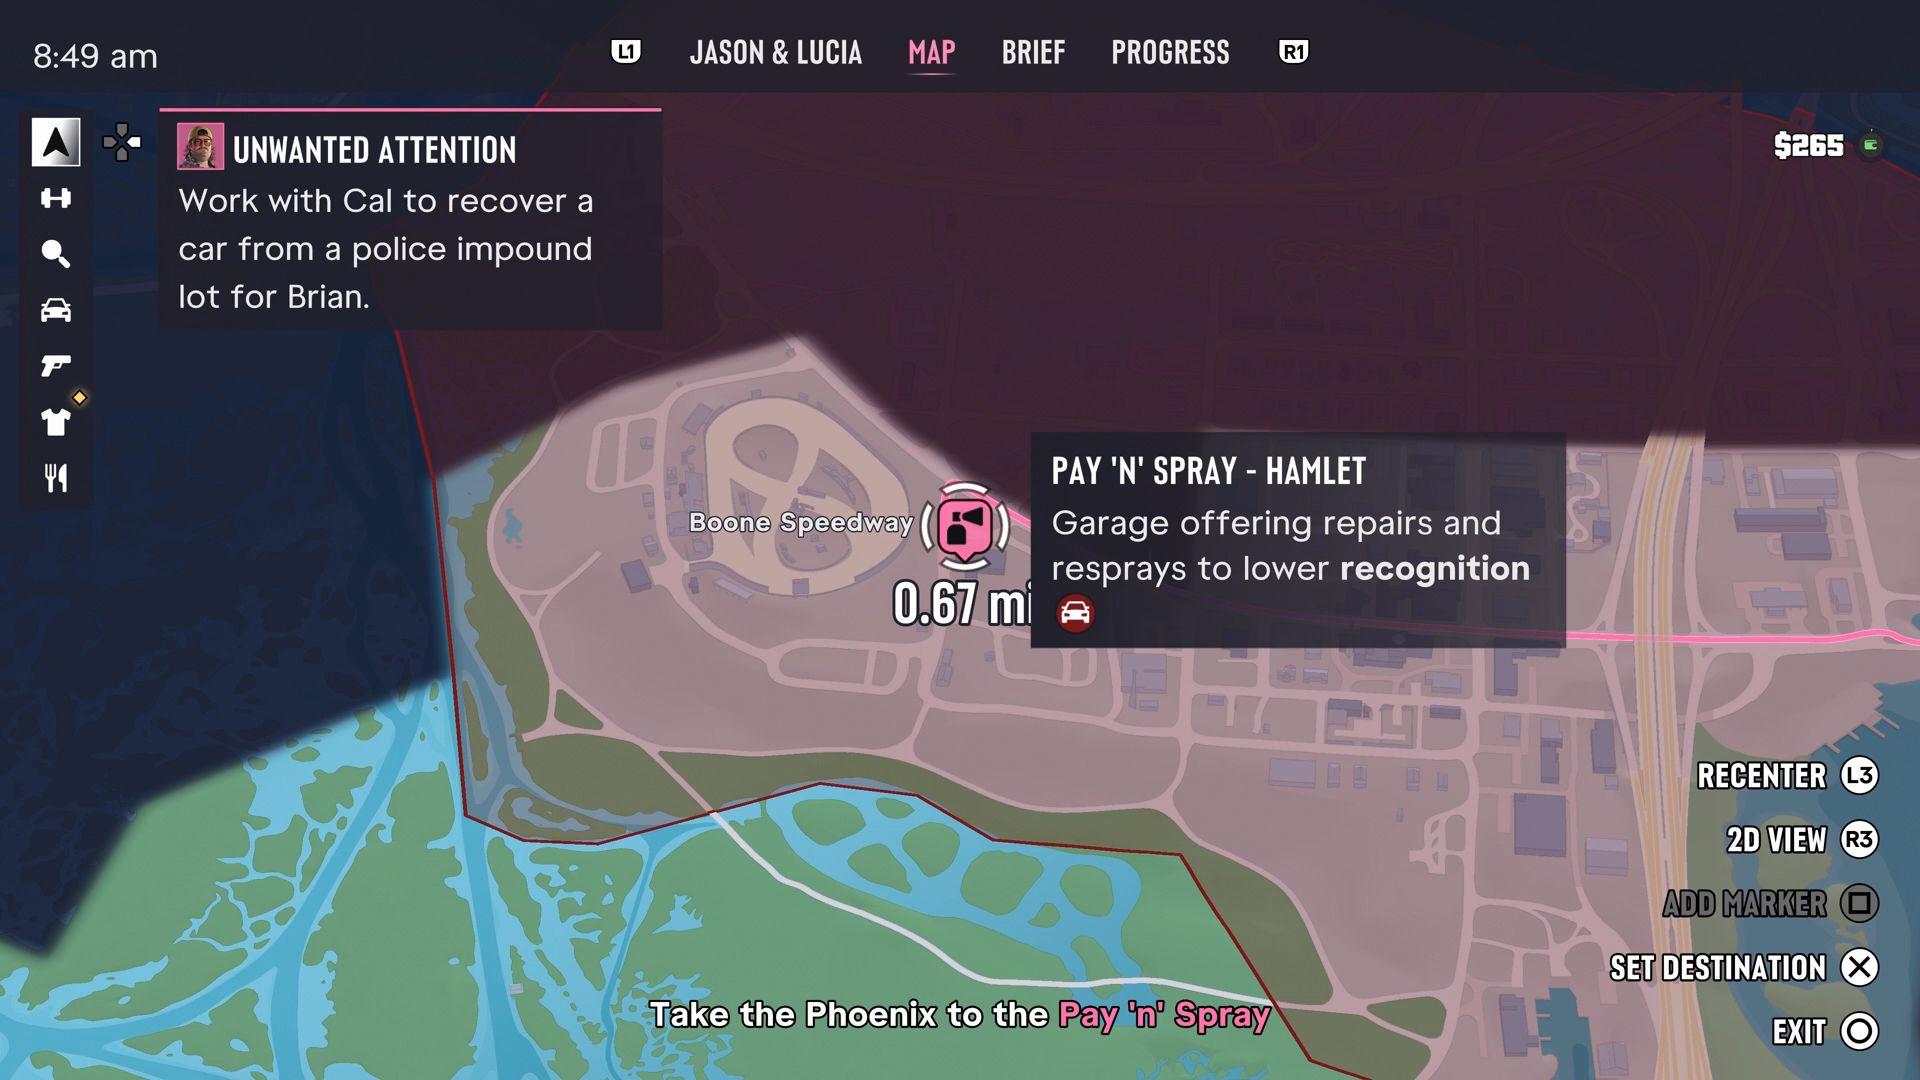
Take the Phoenix to the Pay 'n' Spray
Now that you know you need to go to the Pay 'n' Spray, you can mark it on your map and follow the pink line to get there.
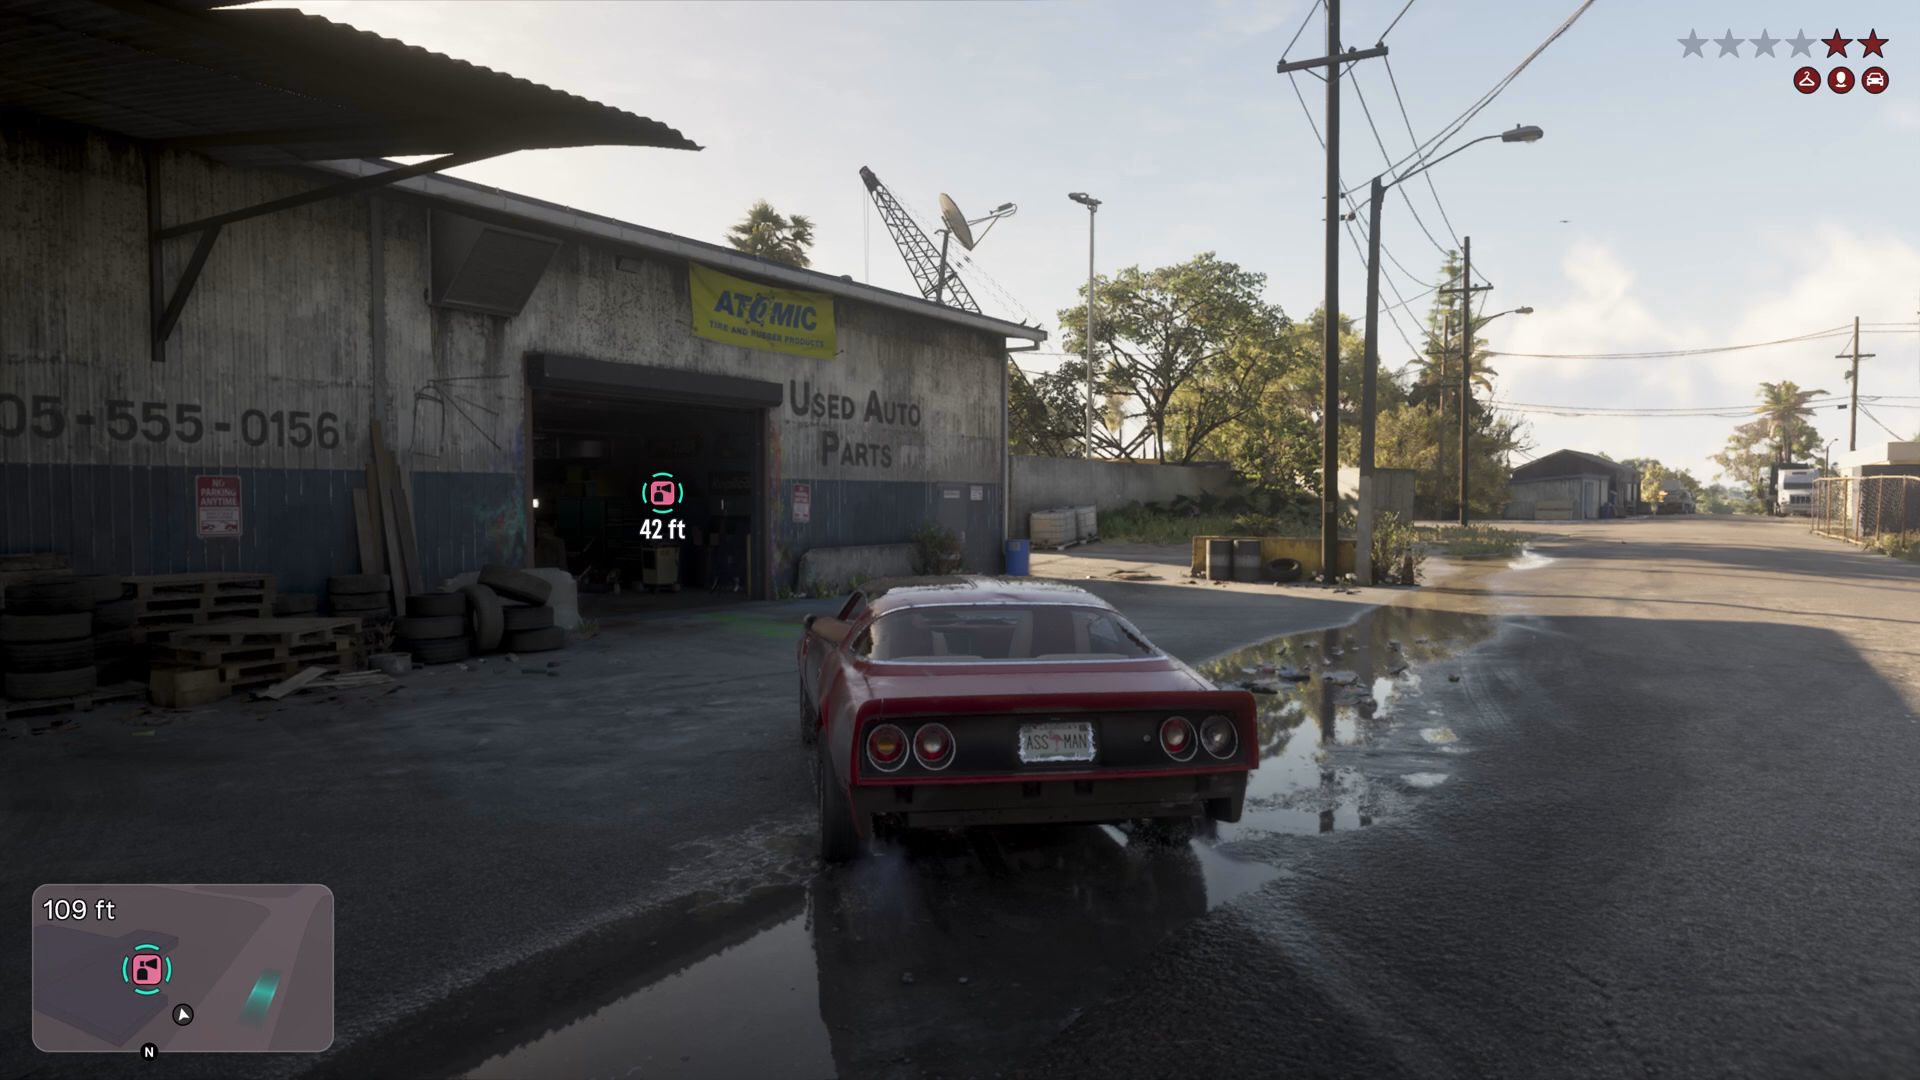
You'll find the Pay 'n' Spray building right off a main roadway, so it shouldn't take long. Just approach and pull into the open bay door.
Repair the Phoenix
First repair the Phoenix, which is free.
Respray the Phoenix
Next, paint the Phoenix a new color. This action is also free. Once you pull outside the garage, a menu will let you know that you can avoid detection better if you change your appearance and clothing.
 Credit: Rockstar Games/Rockstar North
 Credit: Rockstar Games/Rockstar North
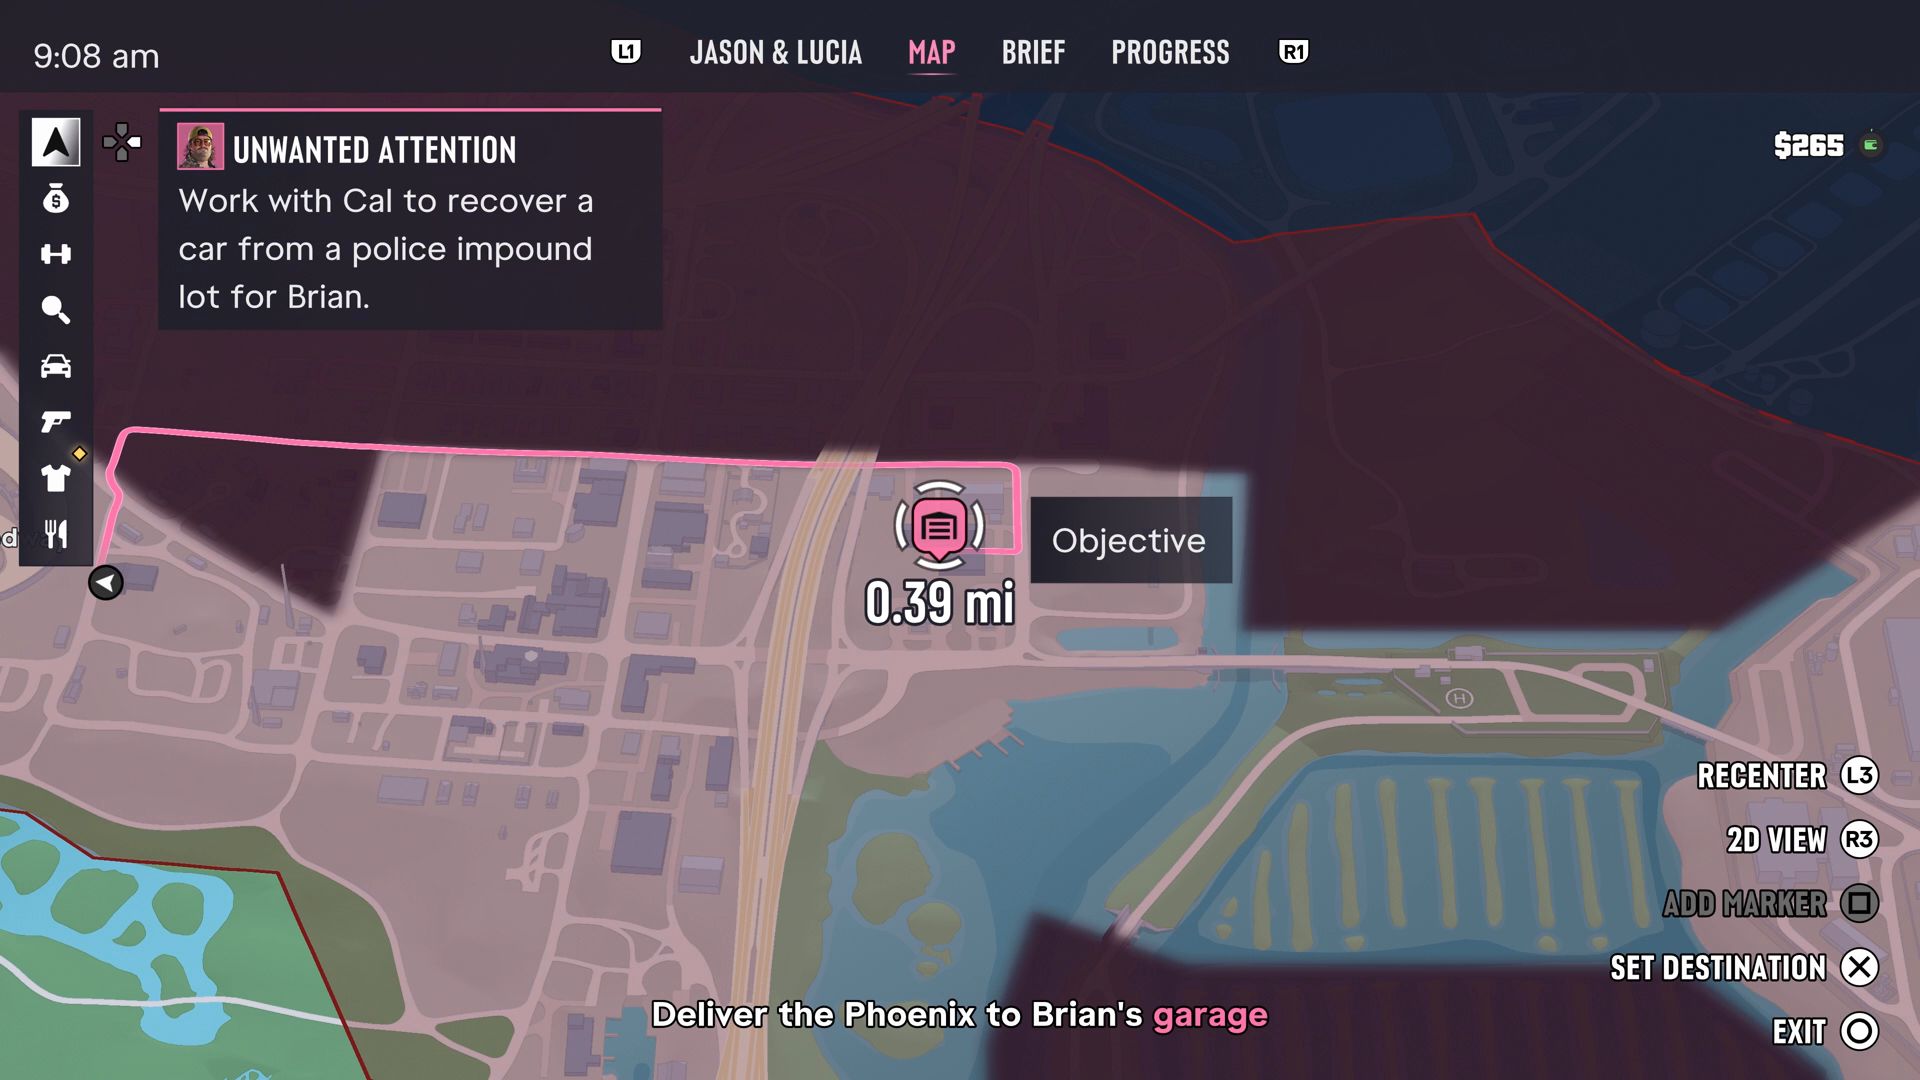
Deliver the Phoenix to Brian's garage
Brian's Garage is 0.39 mi away from the Pay 'n' Spray garage. Drive there without getting into trouble, if possible.
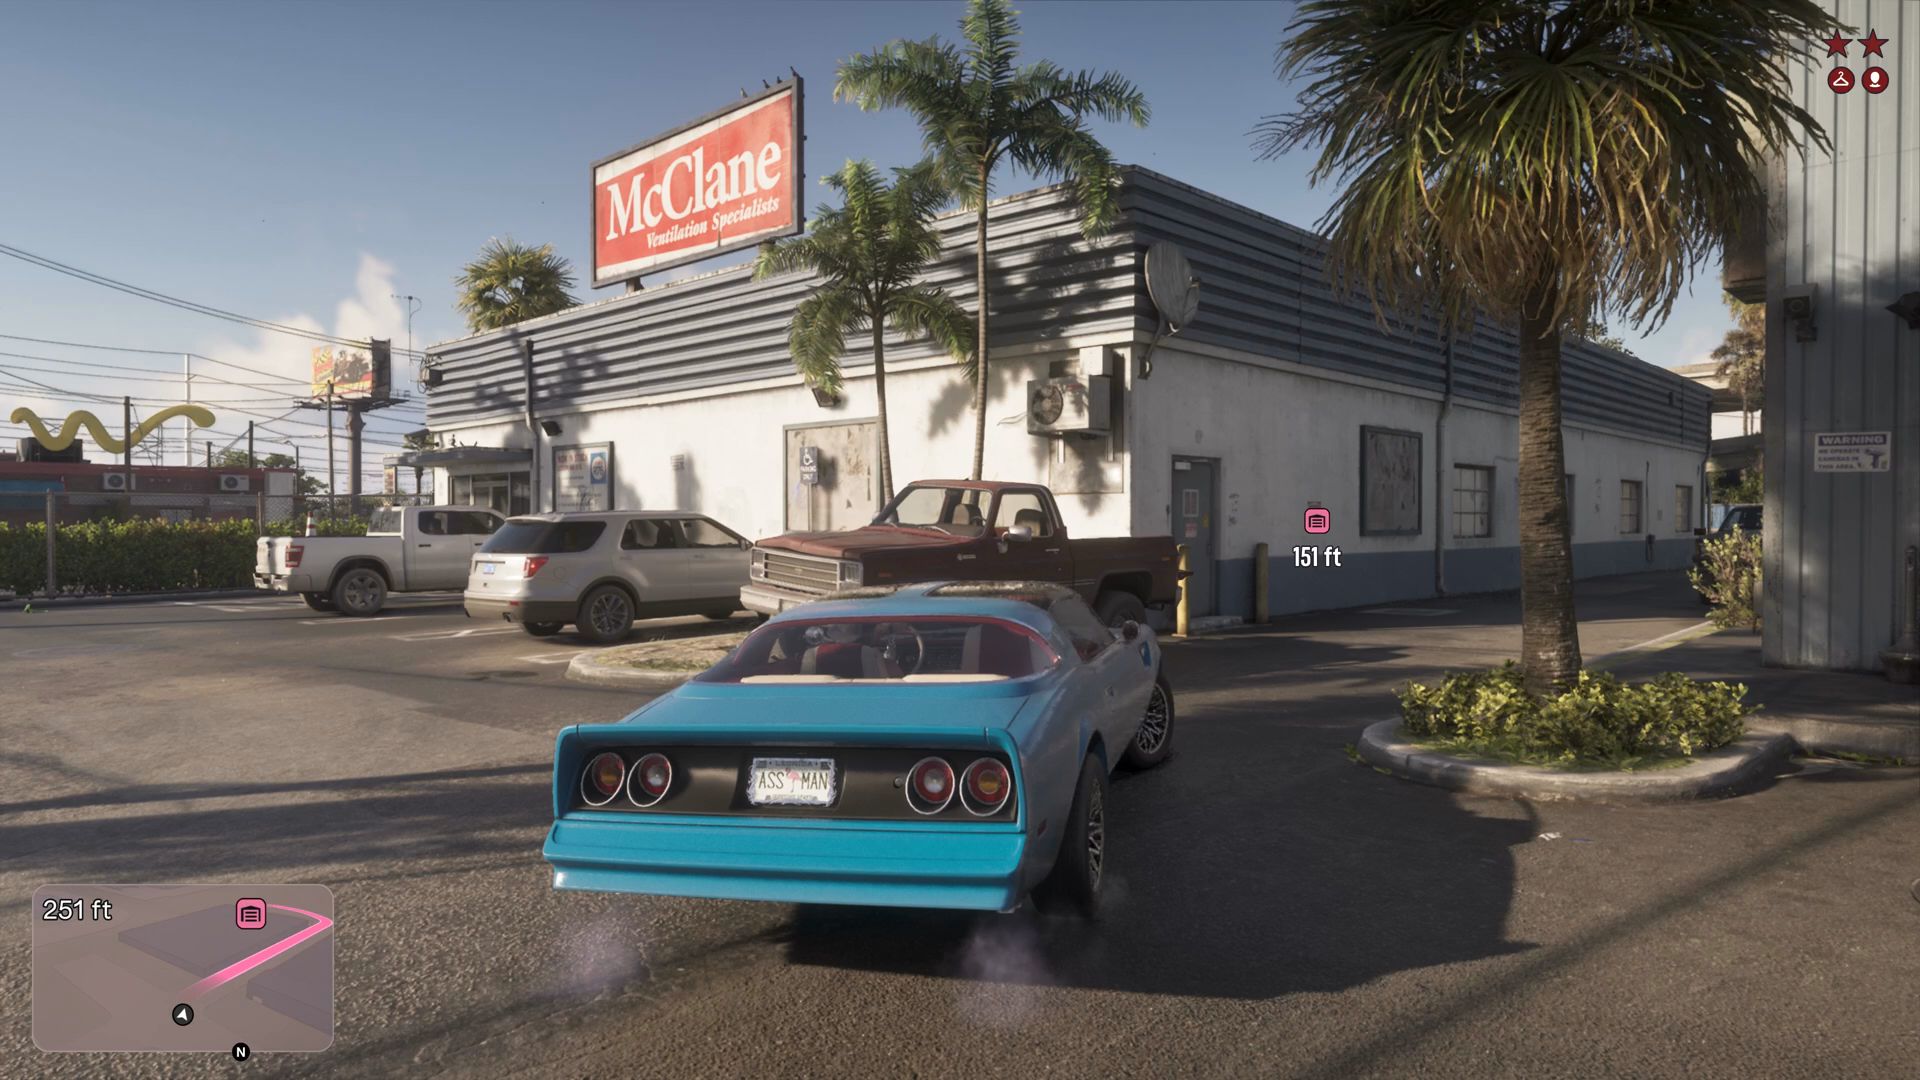
As you approach, head down the alley between two buildings. The one to your left should have a red sign with white text advertising McClane Ventilation Specialists. Proceed around to its back and pull in the open bay door. As you get out of the car, you'll send Brian a message to let him know the vehicle is delivered.
 Credit: Rockstar Games/Rockstar North
 Credit: Rockstar Games/Rockstar North
 Credit: Rockstar Games/Rockstar North
Collect the cash
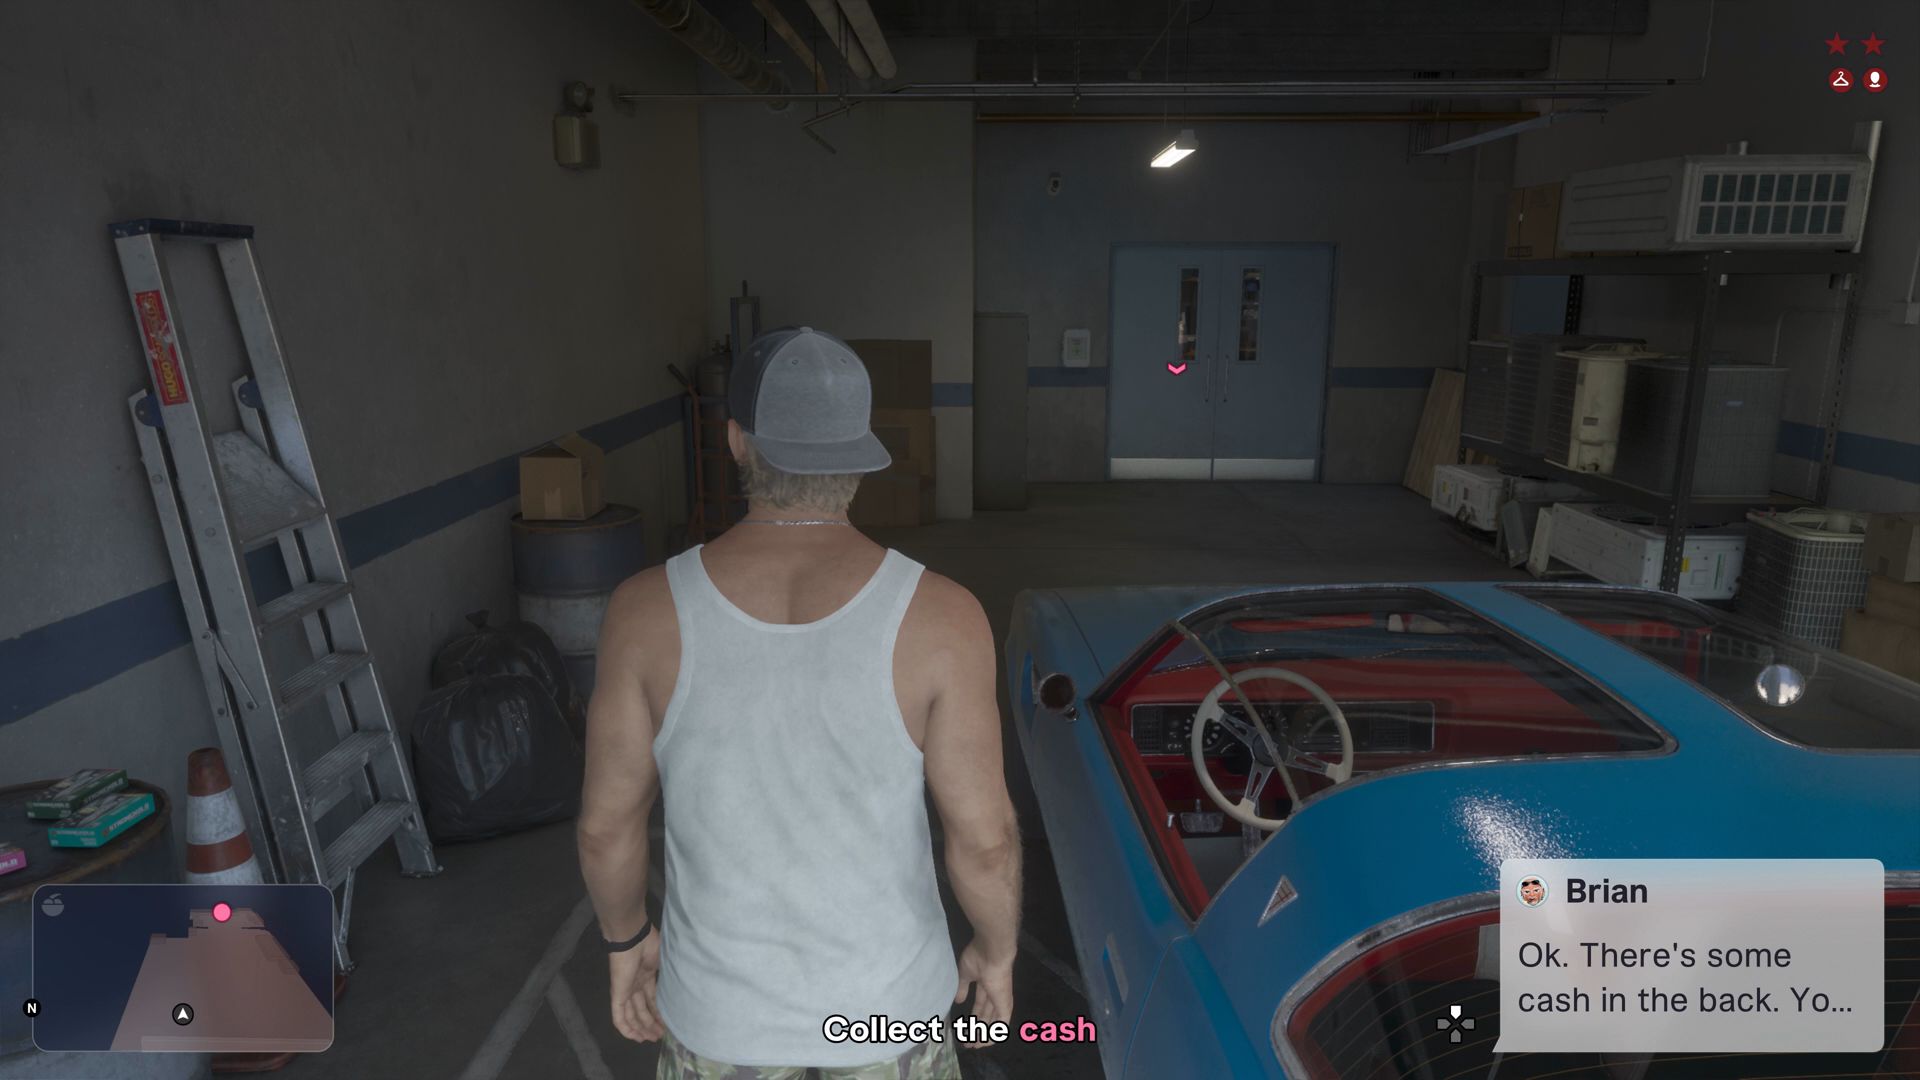
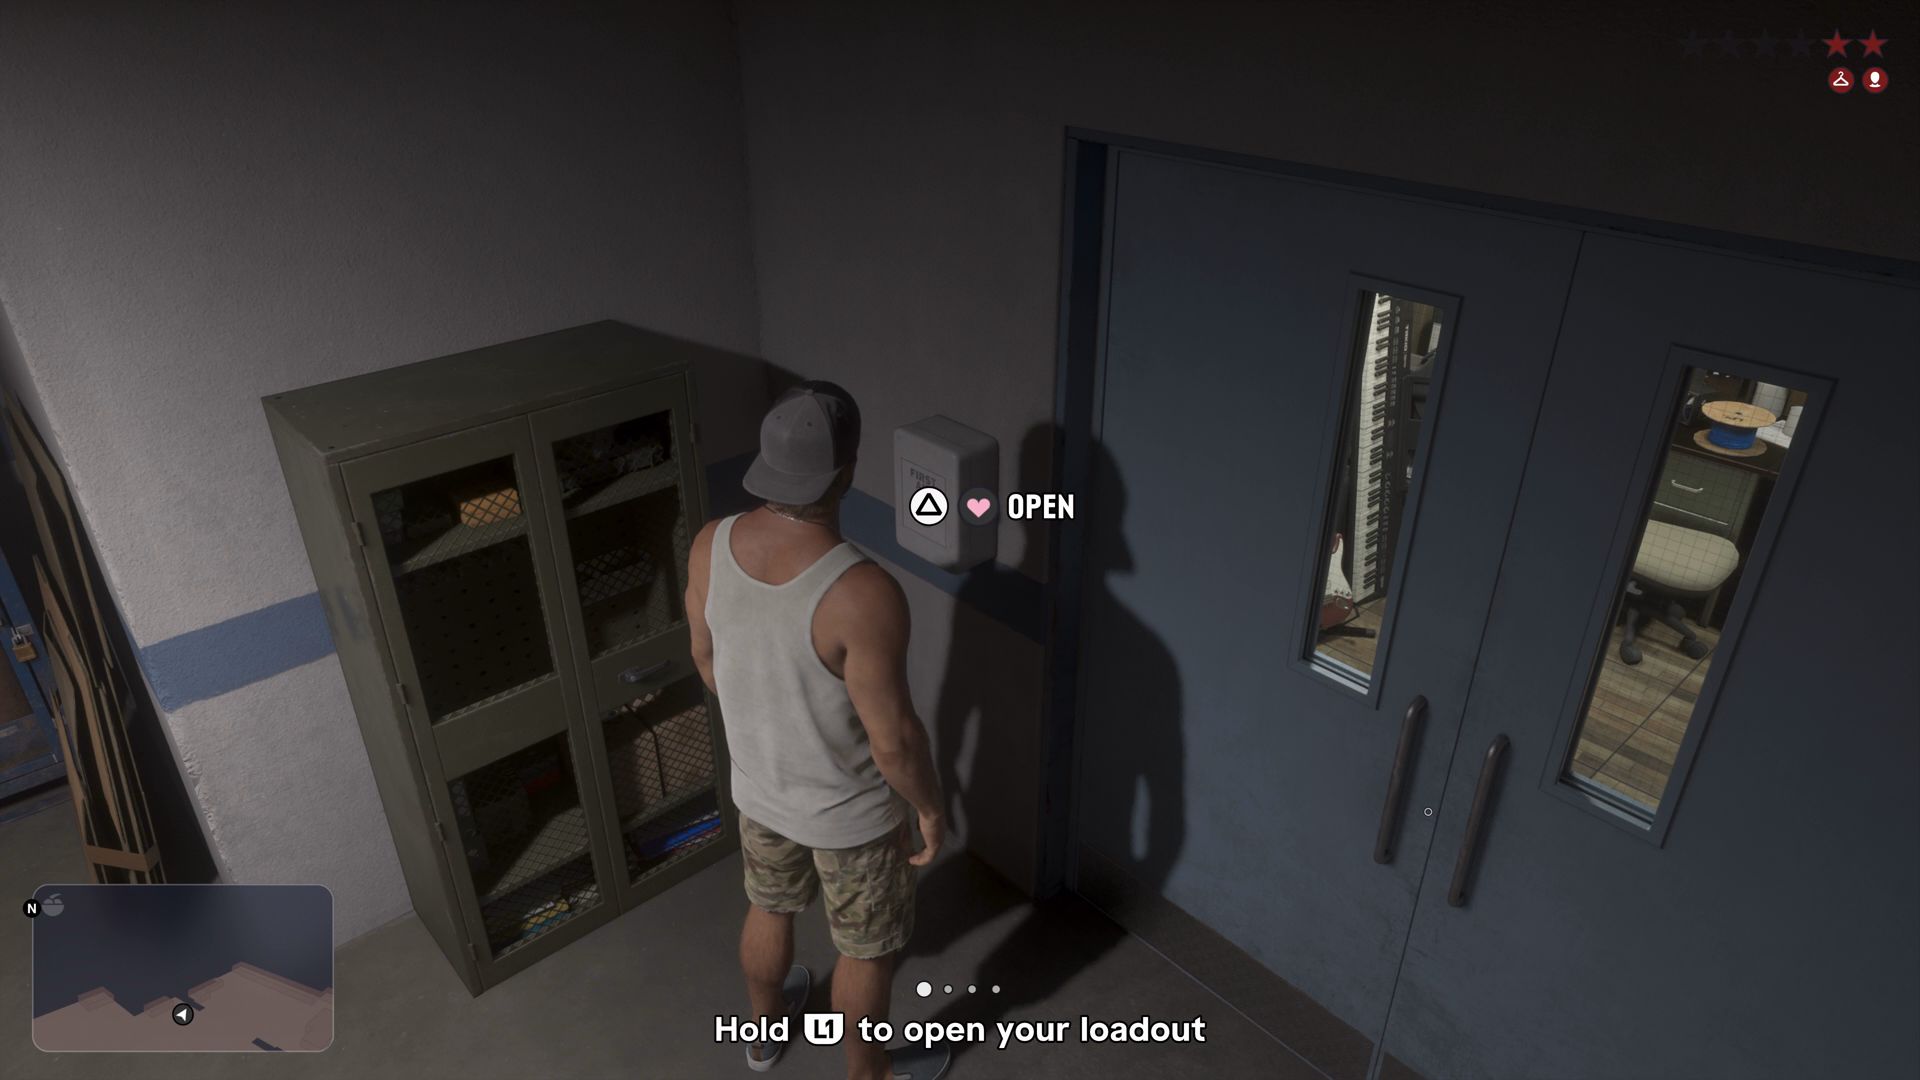
Brian is pleased with your performance, and tells you to collect some cash from a back room in the garage. Head forward toward some blue double doors. Make sure to check the wall just ahead and to the left of them, where you can open a first-aid kit to find Zombix and Adrenaline.
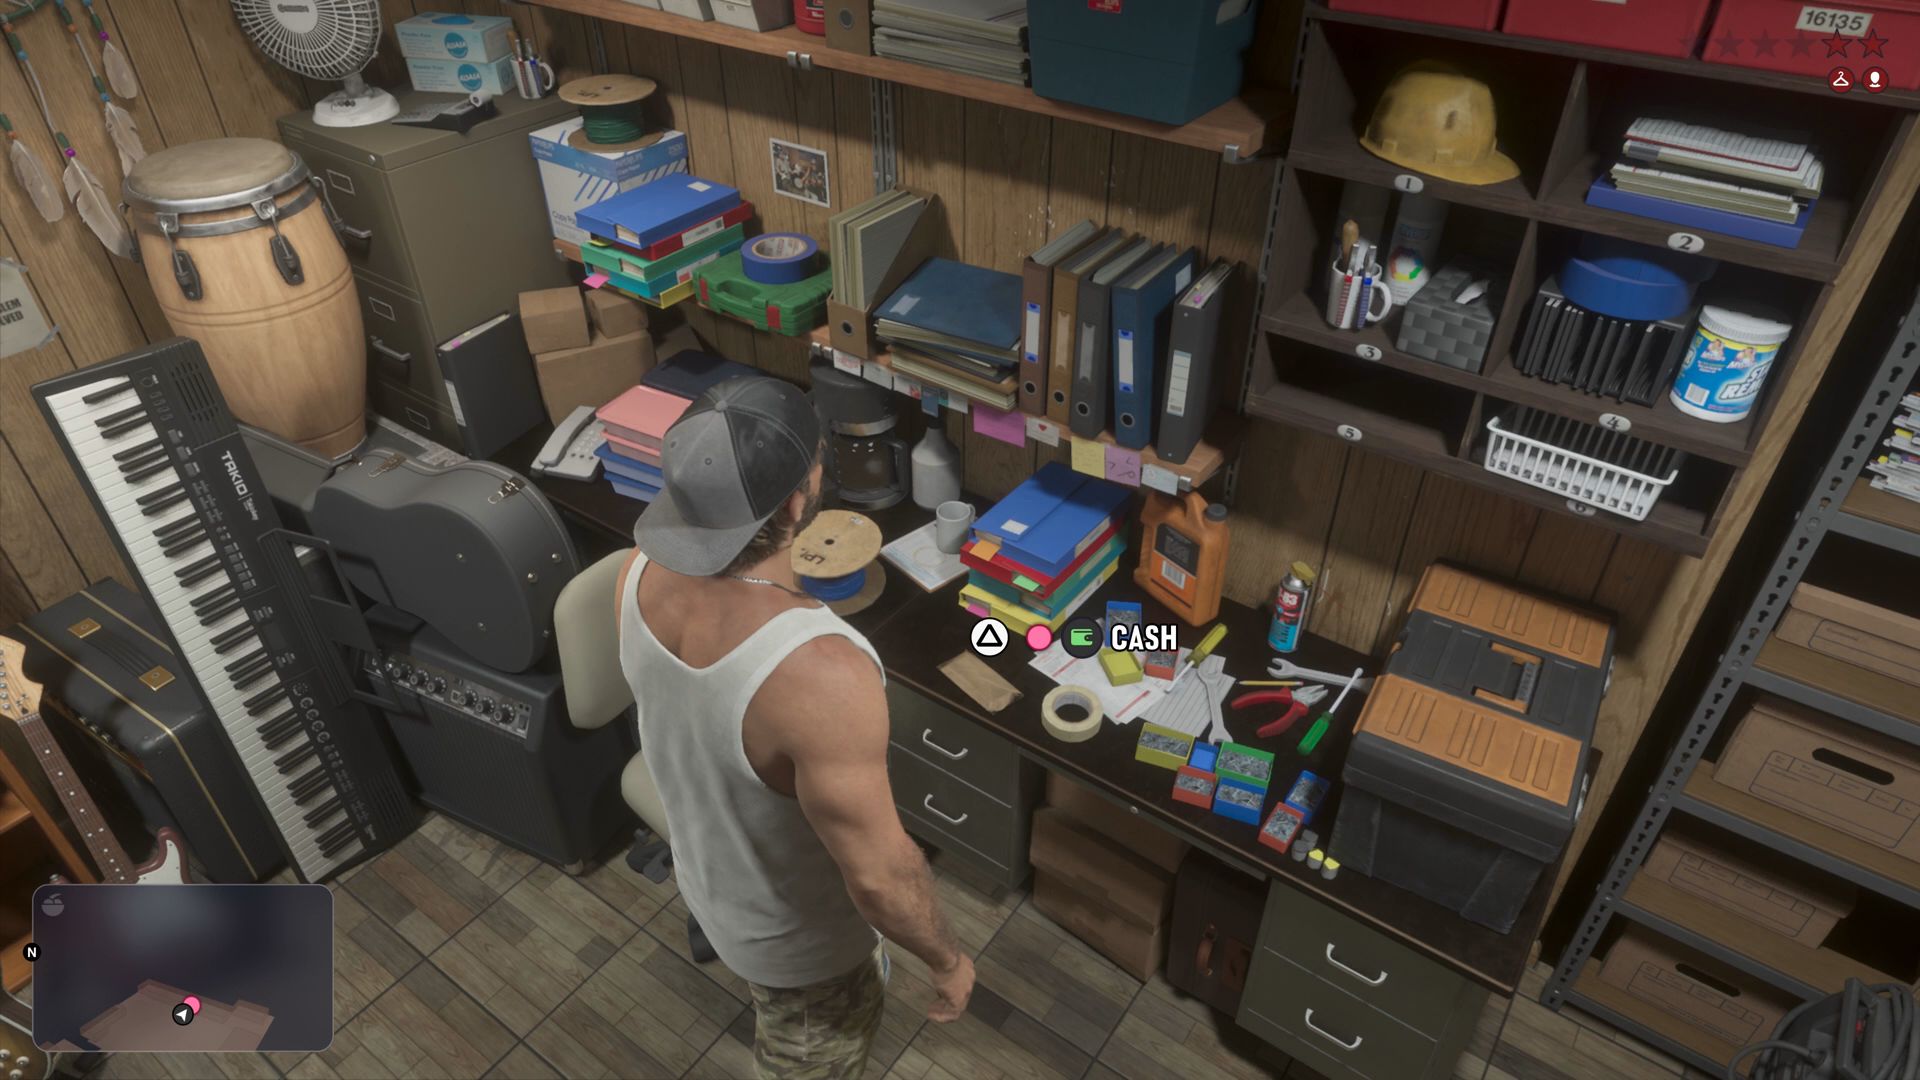
After you collect those items, head into the next room and grab a bundle of cash from the desk. To the left, some Cigarettes sit on a cart. To the right, beneath the flag hanging on the wall, there is another first-aid kit. This one contains another Adrenaline.
Grab what you want, then head back out the door. Change your loadout to remove any clothes you can that you were wearing when you stole the car.
 Credit: Rockstar Games/Rockstar North
 Credit: Rockstar Games/Rockstar North
Buy an outfit at the gun store
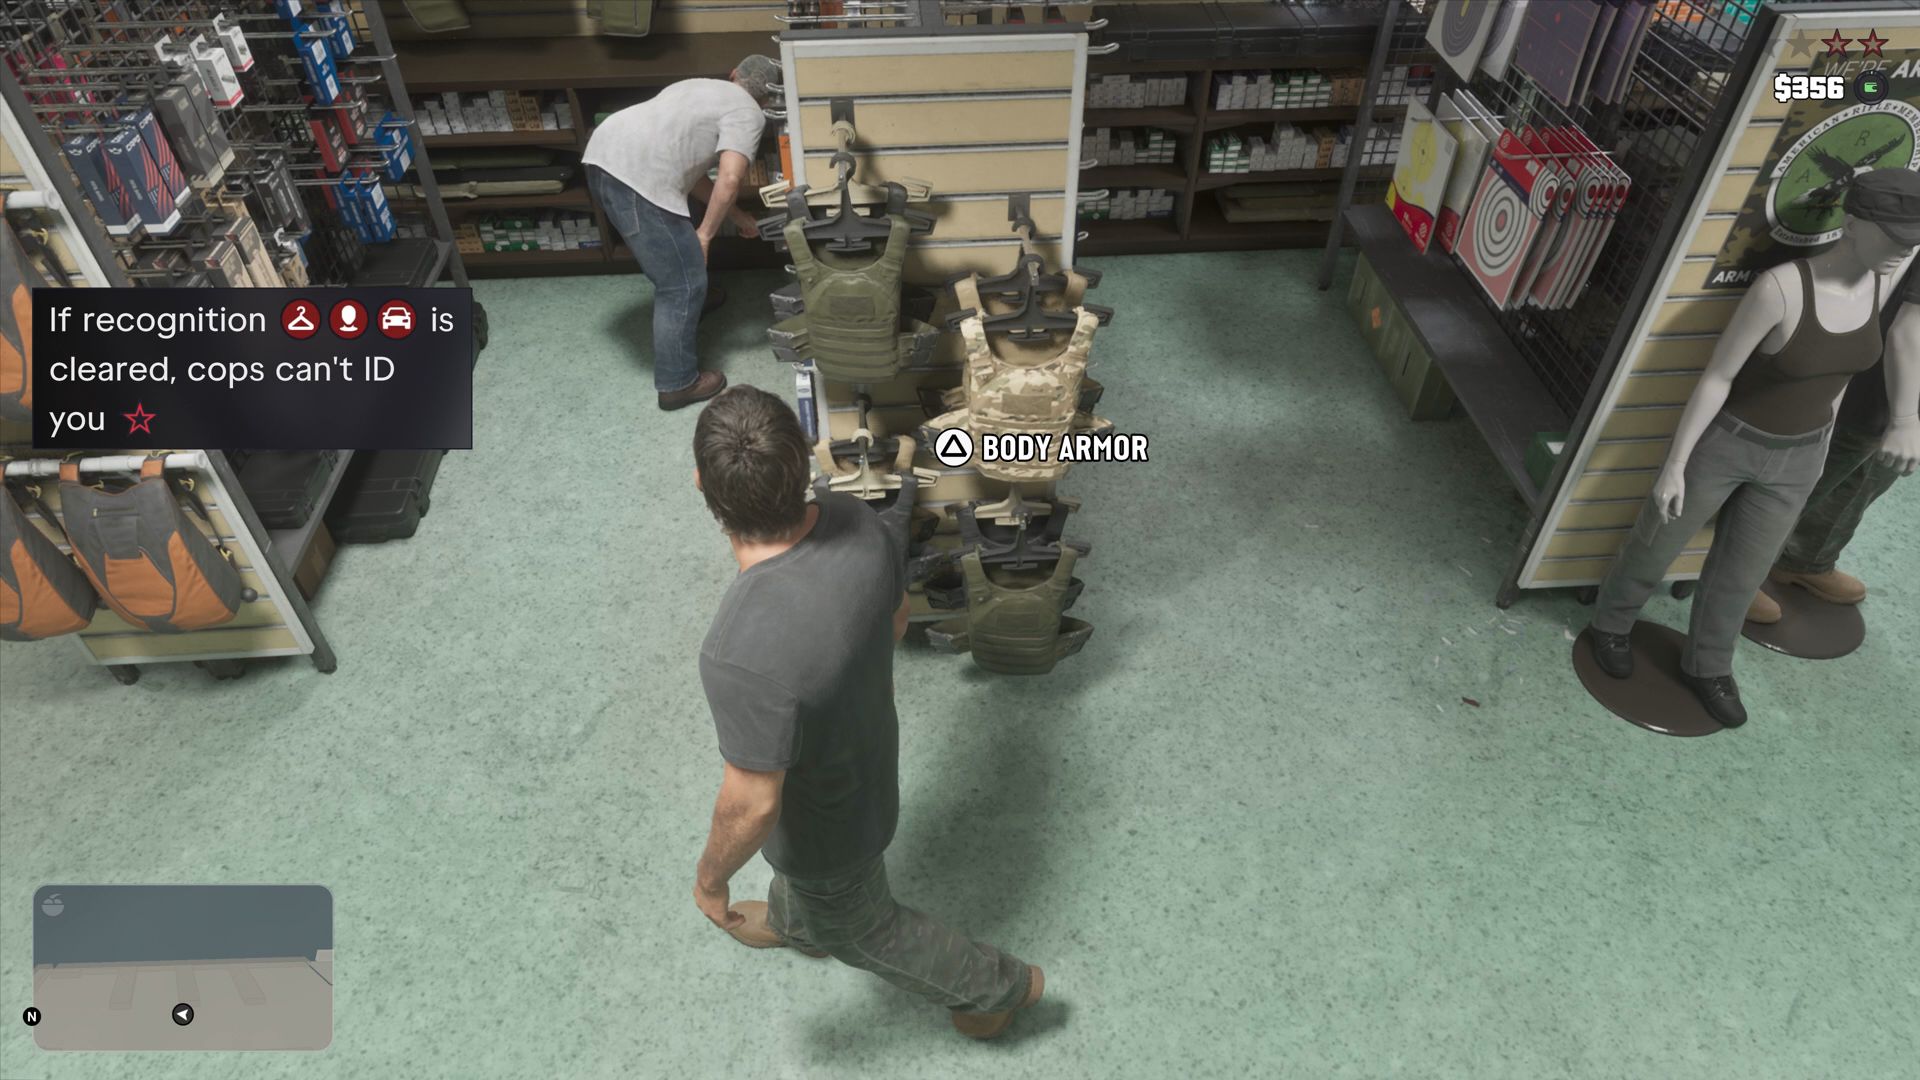
Head out of the garage and follow the building around to its front side, where you can enter the Big Shots store. It sells a few items of clothing.
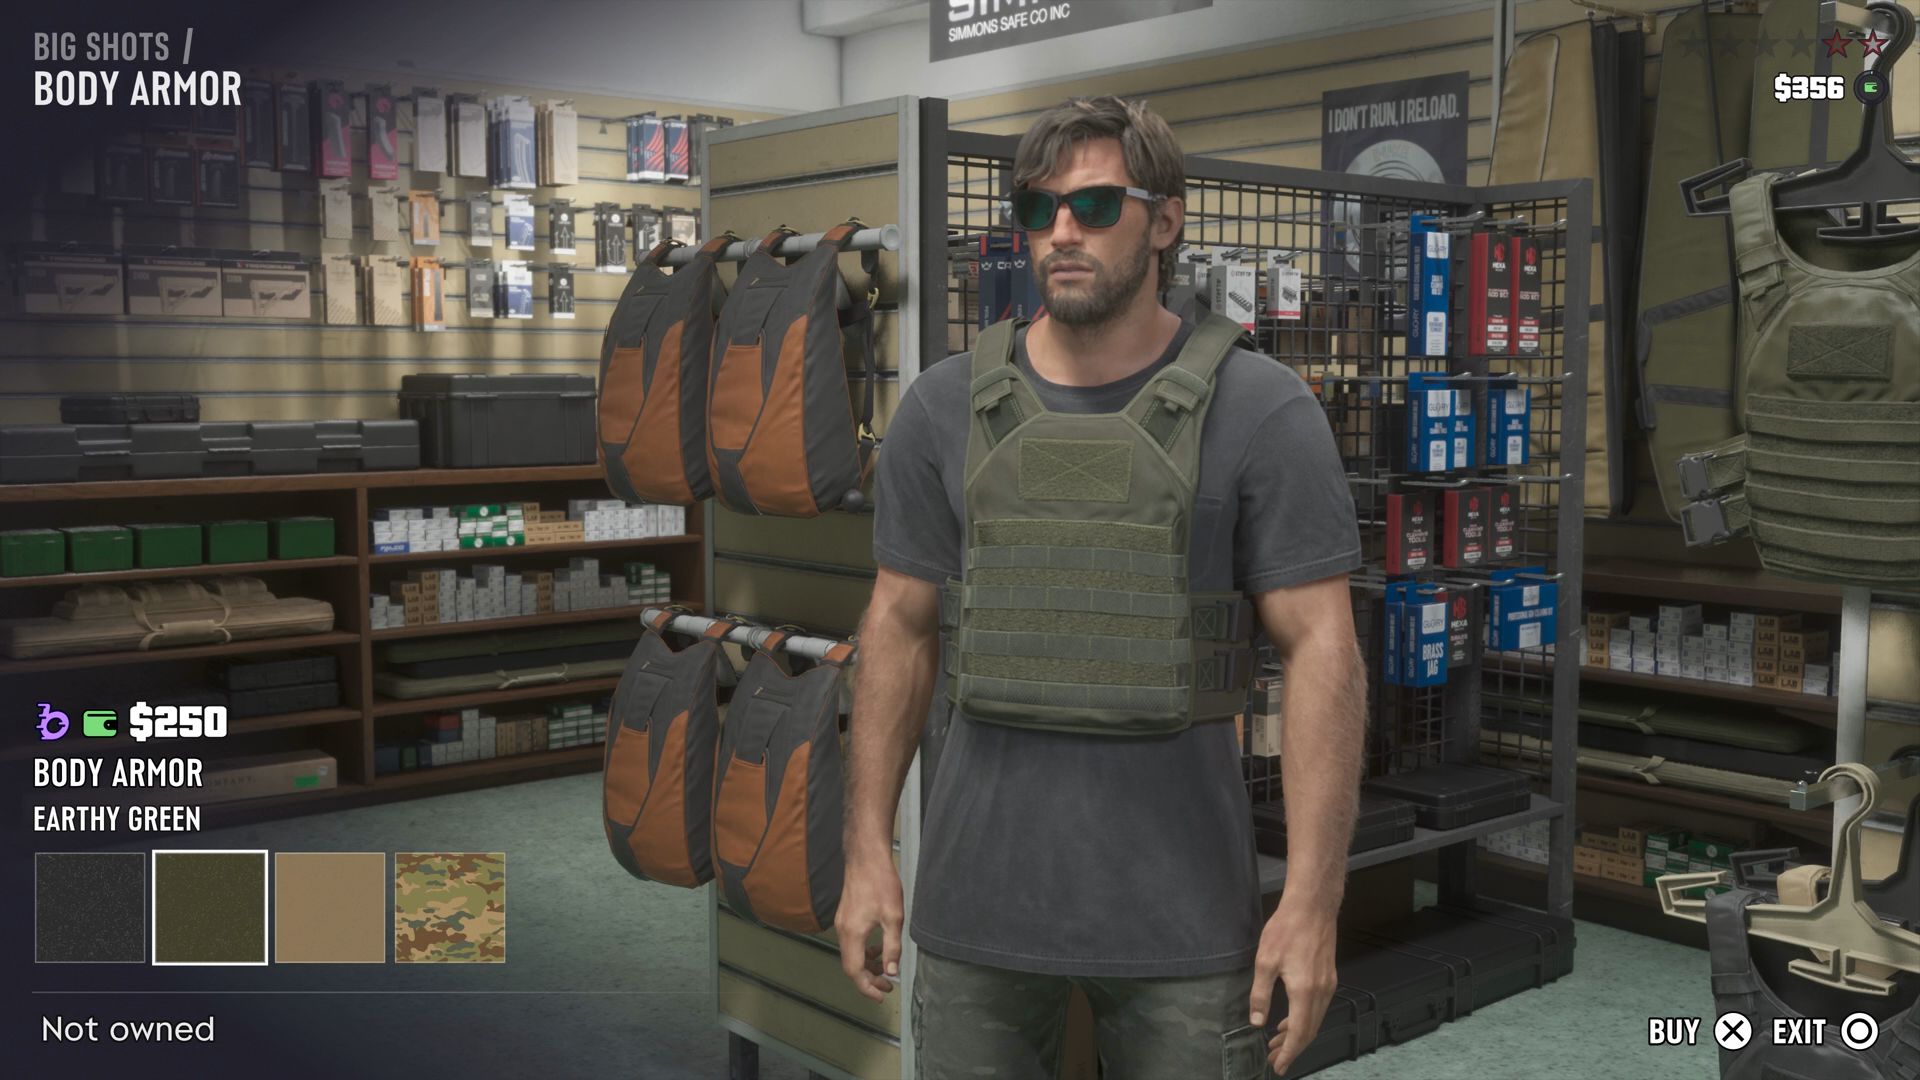
Inside the store, head to your right and you can buy the Big Shots Workwear or the Big Shots Tactical Gear. You might also invest in some Body Armor, if you like. There's a locker just past the clothes, if you need to manage your weapons. On the counter, you can also find the Candybox Milk Chocolate for $1, if you're thinking of Lucia. There are various other items available in the shop, including the Duke 1922 pistol, but they cost money you may not have and they're not important. The pistol also requires you to have a bank account.
 Credit: Rockstar Games/Rockstar North
Leave when ready
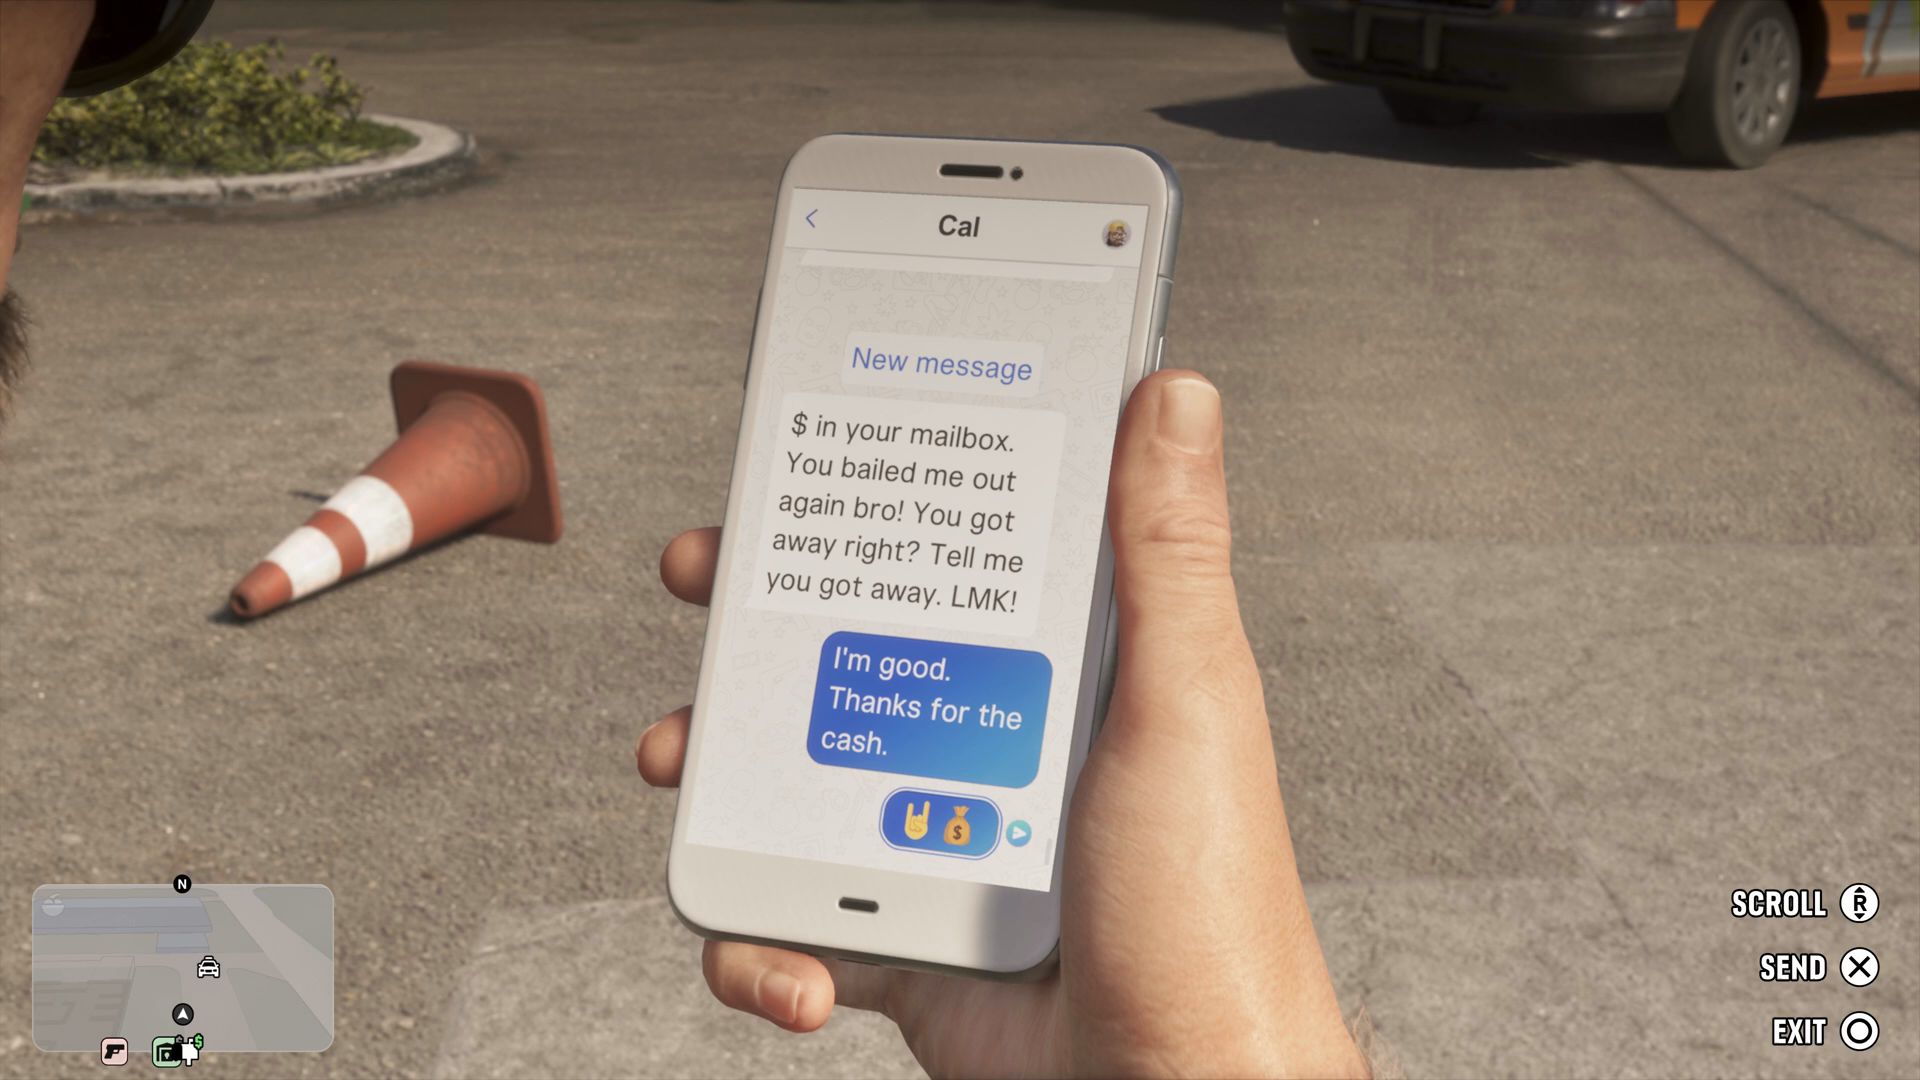
Change into your new clothes. The game should prompt you to leave the store when you are ready. Go ahead and do so. Outside, the cops may be still looking for you. I called for a ride from Paradise Taxi to take me back to my car, because I didn't feel like risking things on foot. While I waited for it to arrive, Cal texted me to let me know he deposited money in my mailbox. Mission complete.